

Blackwings is a Synchro deck with extremely stable combo deployment, creating one-turn-by-one-turn battles with multiple layers of disruption and at the same time can still play strongly when playing defensively. With the SkillWings of the Heavens along with the new Blackwing system, the deck can continuously search, Special Summon and expand combos to set up boss monsters such as Blackwing Assault Dragon, Blackwing Full Armor Master and Hot Red Dragon Archfiend Abyss. In this article, we will go from important cards, how the Skills operate, basic combos to end boards and how to handle being disrupted, which helps you understand clearly how to play Blackwings in Duel Links.

Sections covered in this guide:
Skill
<
Wings to the Heavens (Skill Card) (100%)


At the start of the Duel, Black-Winged Dragon and Blackwing Armor Master are added to the Extra Deck, and the summoning is locked to Blackwing and Synchro DARK Dragon/Winged Beast Level 10 and below. Therefore, when building your deck, you must accept that this is a relatively pure Synchro deck.
- Just reveal a monster that mentions Black-Winged Dragon, you can take 2 Blackwings from the Deck and send 1 card from your hand to the Graveyard. This makes cards like Vata, Shamal, Sudri, Chinook.. available. This serves both as the Skill activation condition and as the starting point for various other combos. So when building your deck, don't just look at the number of Blackwings; ensure you have enough monsters that actually trigger the Skill.
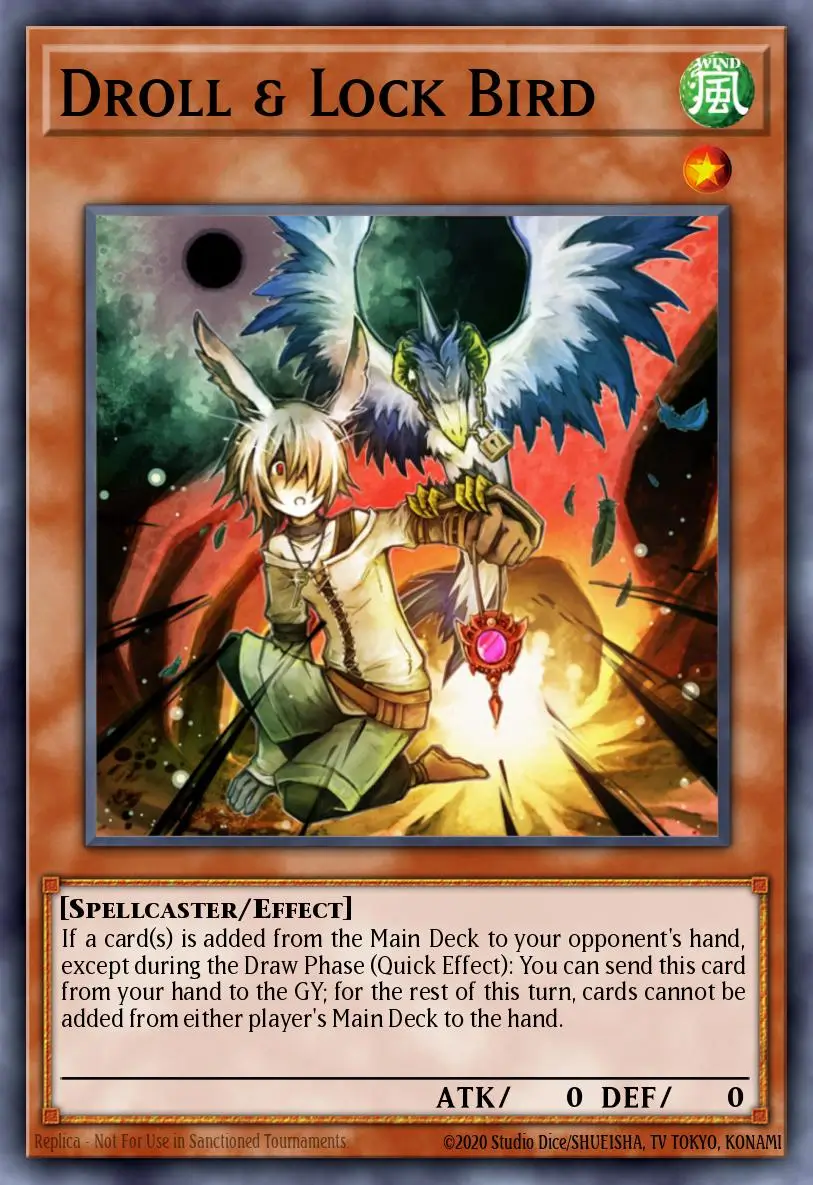
- The next important point is that you shouldn't always activate the Skill immediately. If you already have a card that meets the conditions in your hand, you can deploy before playing Simoon/Sudri, and even use Sudri to check if your opponent has Droll & Lock Bird before deciding to activate the Skill. This way, you don't turn the Skill into a reflex button but use it at the most advantageous moment.
- The card sent to the Graveyard is also very important. When going after, you can proactively send cards like Shamal, Auster or Zephyros to turn the "discard" part of the Skill into a resource for combos and follow-ups. So always think ahead what kind of card I want to send to the Graveyard, rather than just discarding any card.
- The third effect is how the Skill completes the end board. Once you have Blackwing Synchro or your opponent has a monster on the field, the Skill brings Blackwing Armor Master onto the field and uses Blackbird Close from the Outside Deck. The key thing to remember is that timing is crucial: in combos that use the Skill to draw Close, perform this step before the Synchro Summon of Hot Red Dragon Archfiend Abyss, otherwise you may lose the condition to use the Skill.
In addition, the Skill can only use its second and third effects once per Duel, so don't treat them as unlimited resources. Depending on the match, you might want to use the Skill early to complete the end board with additional disruption, or save the Skill for a follow-up on the next turn. This is one of the most important decisions when playing Blackwings
The monsters in the main deck
Blackwing - Simoon the Poison Wind (x1)
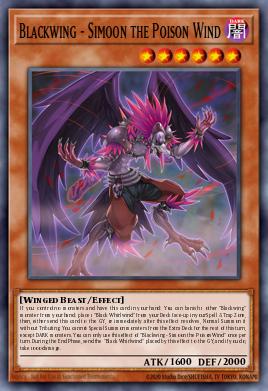
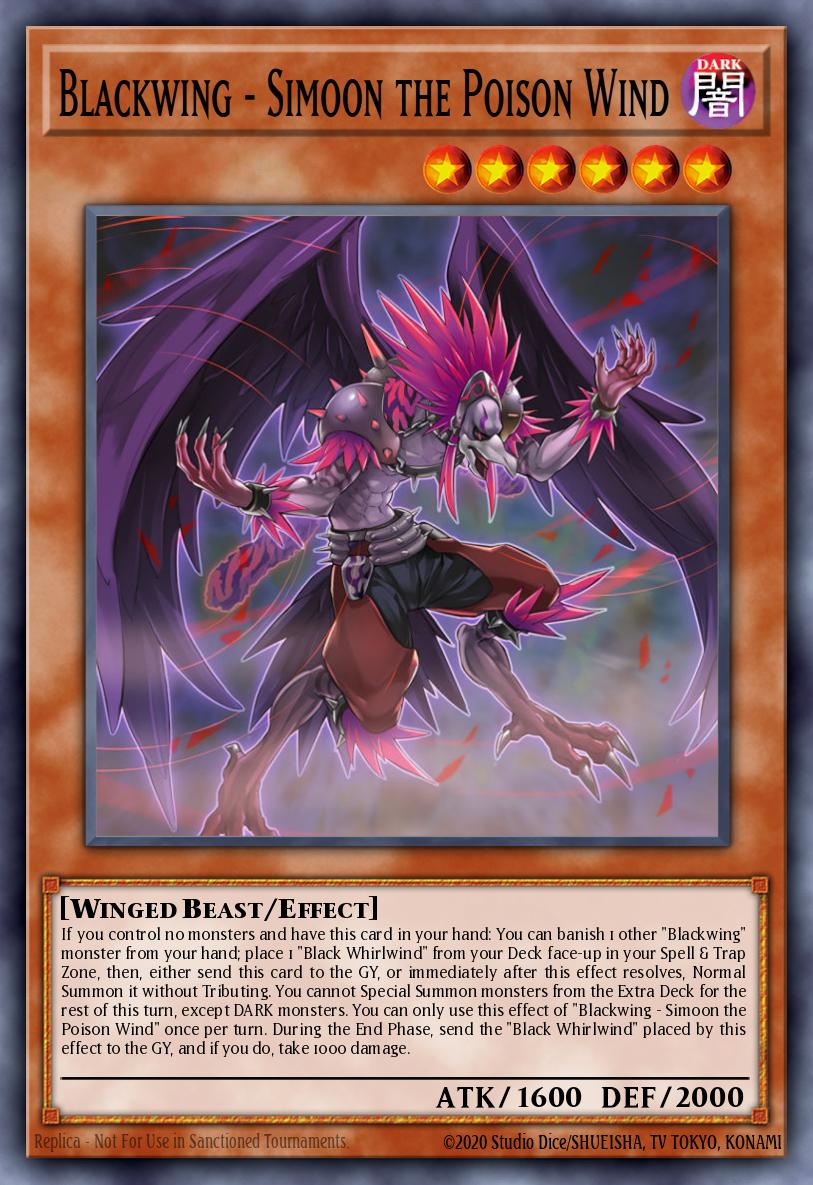
Simoon is one of the most important starters of the deck. It lets you bring Black Whirlwind onto the field immediately, thereby opening up the search chain that Blackwings needs to start the combo. So, when you have Simoon in hand, most of the time you want to use it to fetch Whirlwind and begin your setup.
An important point is not to rush using Skill if your hand already has enough conditions. You can deploy Simoon/Sudri first to check out Droll & Lock Bird before deciding to use Skill. Simoon also releases a Spell/Trap Zone for you at the End Phase, so having many Black Whirlwinds on the field does not necessarily mean you will get stuck yourself.
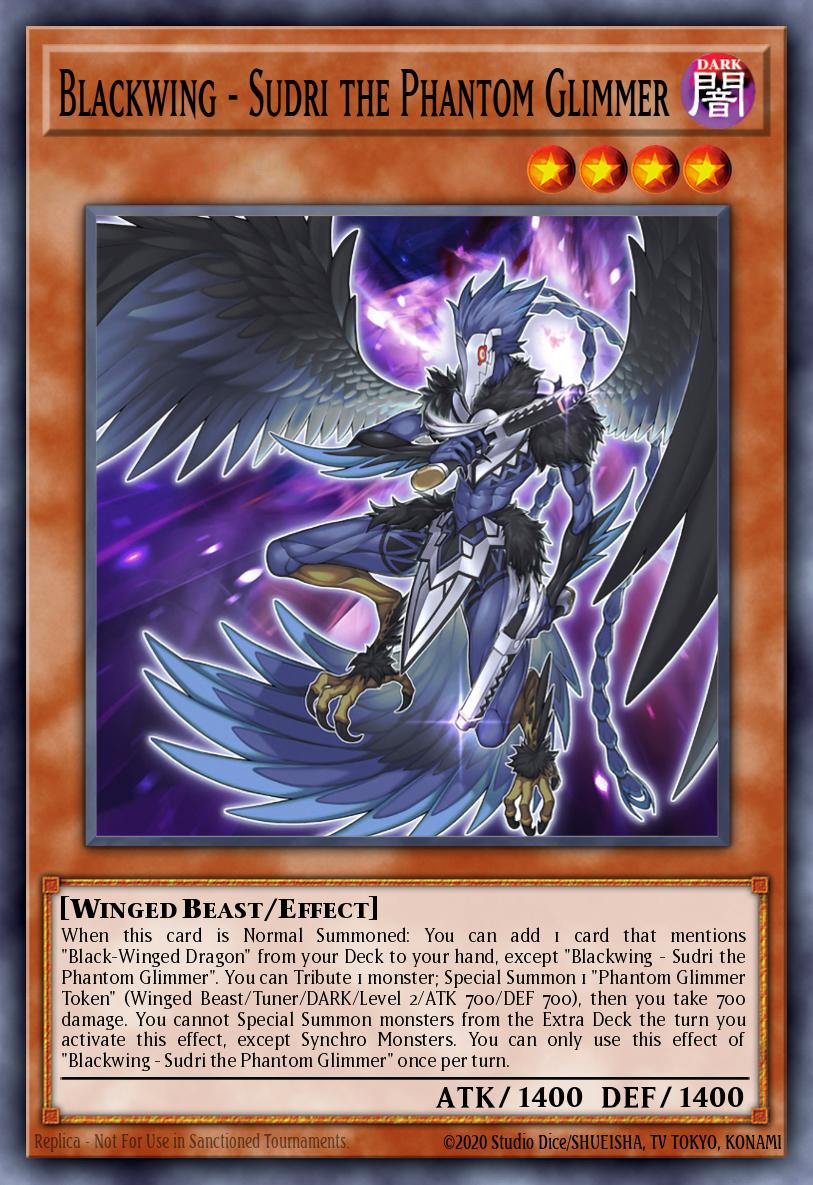
Blackwing - Sudri the Phantom Glimmer (three times)

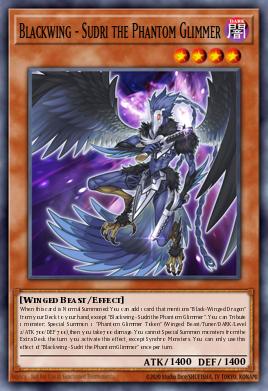
Sudri is the key Normal Summon of the deck and can search Blackwings that mention Blackwing Dragon. This is why Sudri is often the card you want to Normal Summon after Simoon, and it is also one of the cards most frequently retrieved by Skill.
Notably, Sudri’s search is not restricted as a hard once per turn, so when you gain an additional Normal Summon from Nothung, you can Normal Summon Sudri again and continue searching. During the combo, make use of both Sudri and Black Whirlwind to continuously fetch the missing pieces instead of focusing only on a single search.
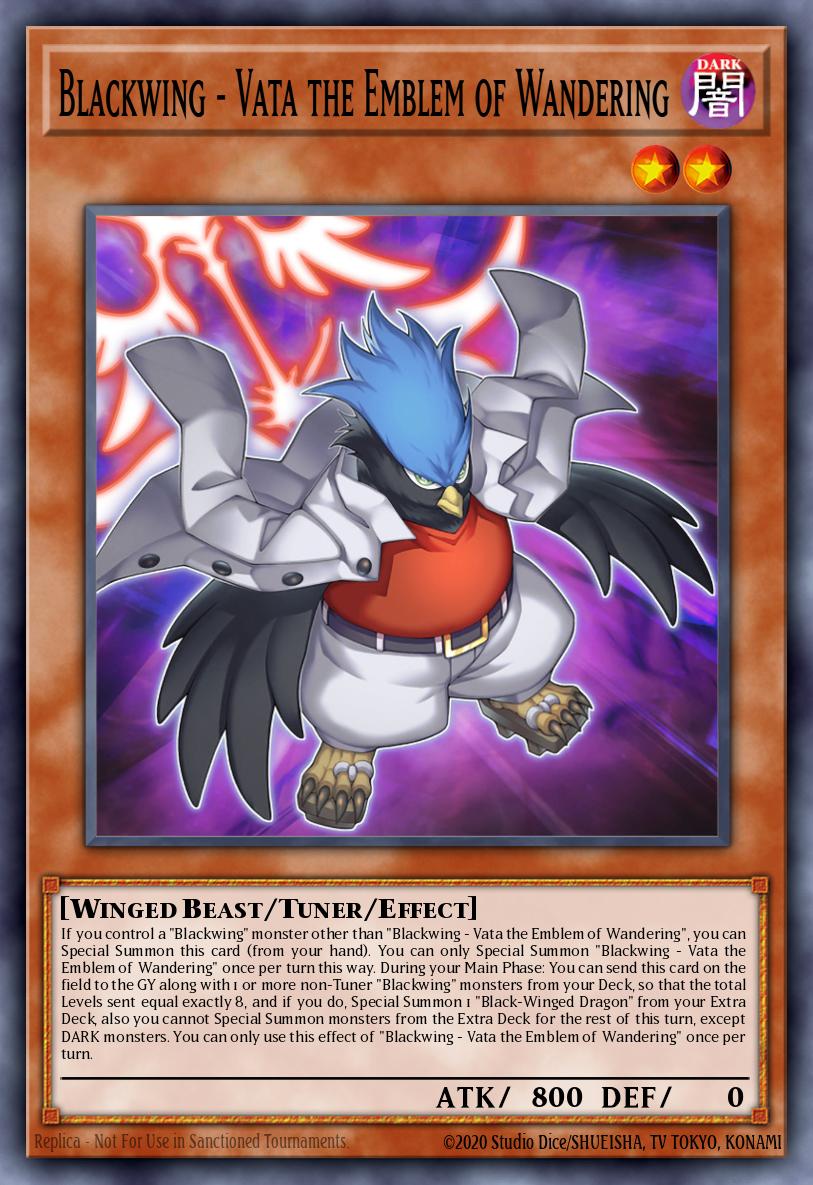
Blackwing - Vata the Emblem of Wandering (x3)
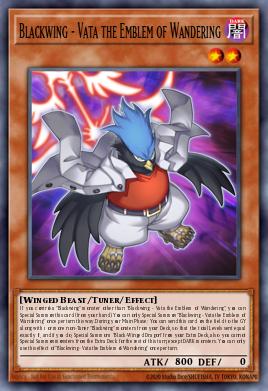
Vata is one of the most important combo pieces. It can Special Summon itself and help bring Black-Winged Dragon onto the field, while also sending a Blackwing from the Deck to the Graveyard. This makes Vata both an extender and a Graveyard setup tool.
In practice, Vata is often an important search target after Sudri/Black Whirlwind. It also allows you to actively send cards like Zephyros to the Graveyard to continue the combo, so when there are multiple options for searching, Vata is often one of the cards that needs priority.
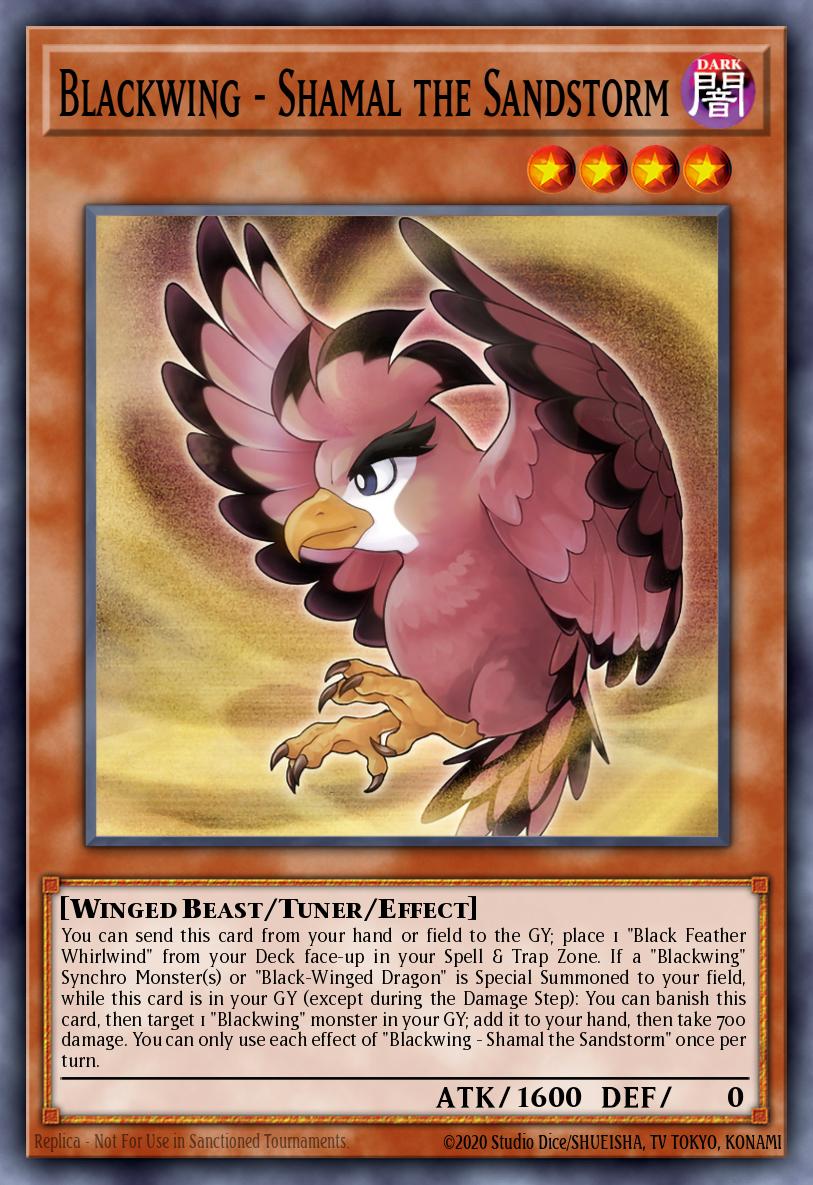
Blackwing - Shamal the Sandstorm (x3)

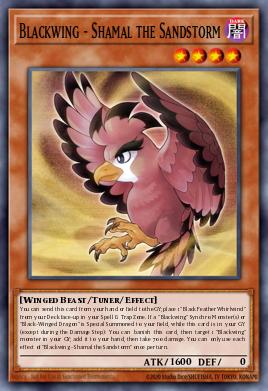
Shamal is a special-value card because it works very well from both hand and Graveyard. You can discard Shamal to set up Feather Whirlwind, then continue using Graveyard effects to retrieve a Blackwing and expand your combo. Therefore, Shamal is both a starter and a follow-up resource.
Especially when playing defensively, Skill allows you to actively send Shamal to the Graveyard, turning the discard of Skill into an advantage. Once you have a Blackwing Synchro on the field, Shamal in the Graveyard can become a quick effect to destroy the opponent's face-down card, making it one of those cards worth actively sending to the graveyard.
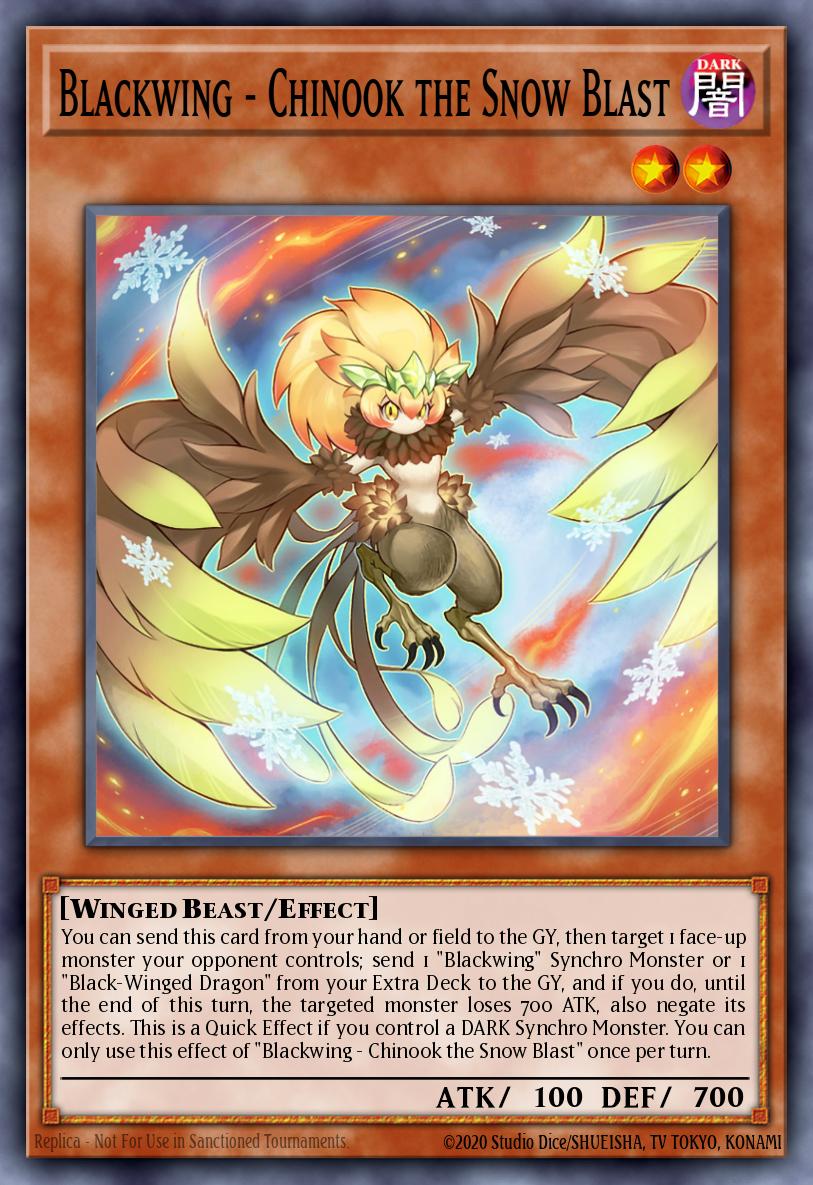
Blackwing - Chinook the Snow Blast (times 3)
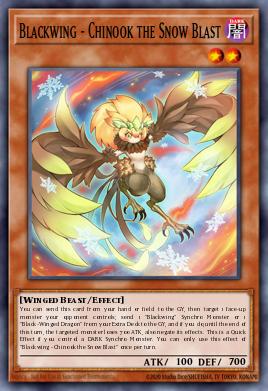
Chinook is the most important hand trap of Blackwings. When playing defensively, it allows you to negate your opponent's monster effects without needing a Blackwing on the field, so this tool helps the deck not be completely dependent on going first.
When playing offensively, Chinook becomes an extra interaction layer kept in hand. Therefore, if you already have enough resources for a combo, searching for Chinook instead of grabbing another combo piece often gives the end board an additional layer of protection.
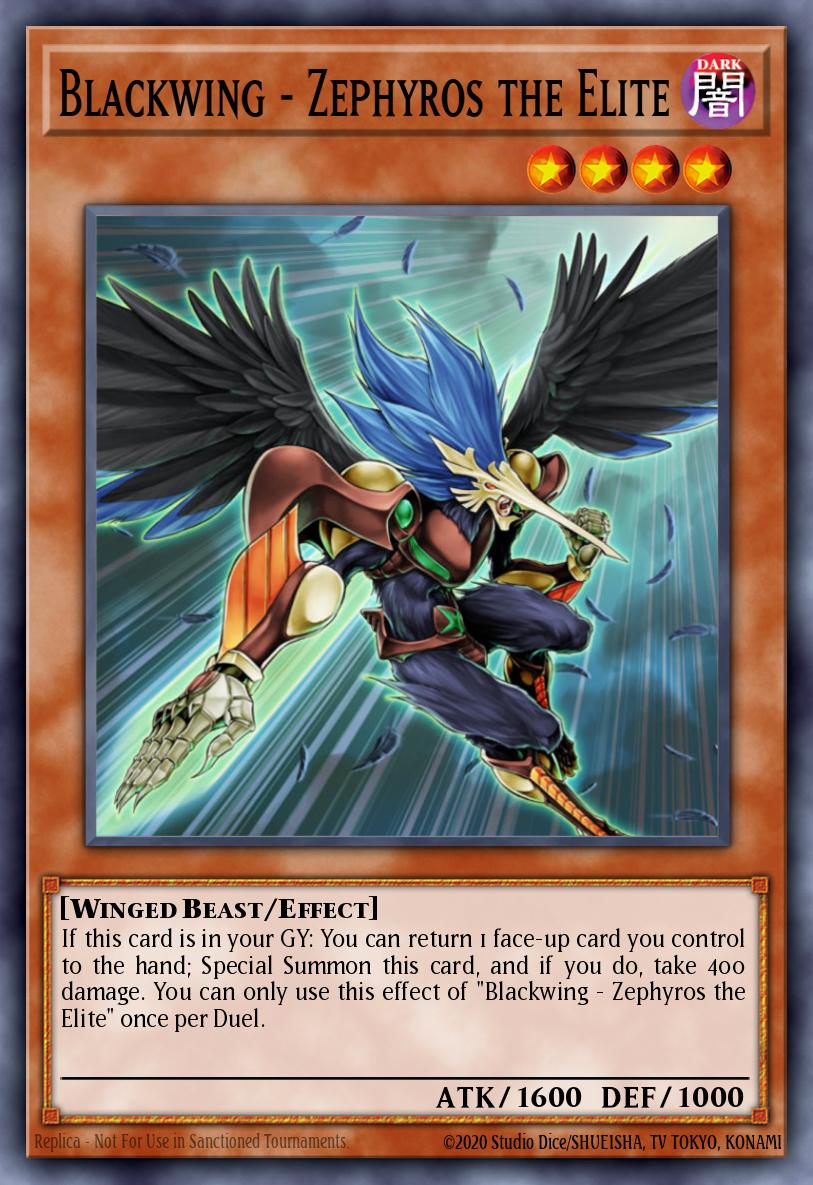
Blackwing - Zephyros the Elite (x1)
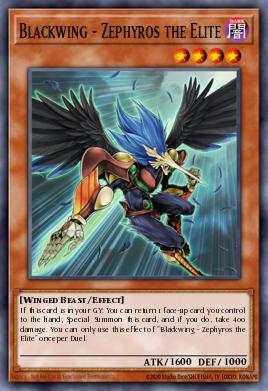
Zephyros is not primarily a card you want to Normal Summon but rather a resource to send to the Graveyard and reuse it. When in the Graveyard, it can Special Summon by bouncing a Continuous Spell, especially Black Whirlwind, thereby both clearing the Spell/Trap Zone and creating an additional body to continue Synchro.
So, Zephyros is often one of the very good cards to send to the Graveyard via Skill or through Vata/Boreas. It is particularly important in long combos and situations that require additional resources to continue Synchro or make a follow-up on the next turn.
Blackwing - Auster the South Wind (x1)

Auster is mainly for situations that come after. When sent to the Graveyard, it can become a tool to create a Wedge Counter on opponent's monsters, from which it can be combined with Blackwing Full Armor Master to bring them down to 0 or take control of monsters with counters.
That is why Auster is not usually the card you want to play to open a one-turn combo. Its value lies in being able to send Skill to the Graveyard and becoming a way to defeat large boss monsters when you have to go through an opponent's end board.
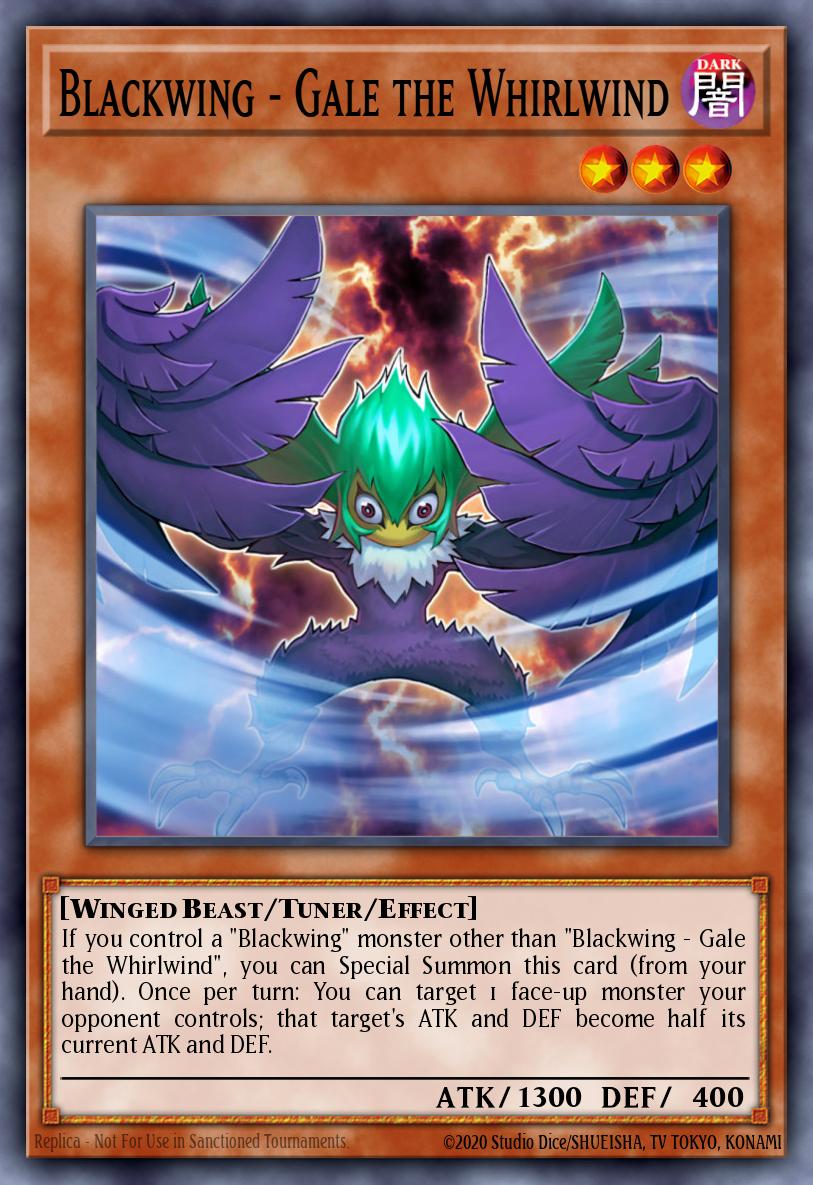
Blackwing - Gale the Whirlwind (x0-1)
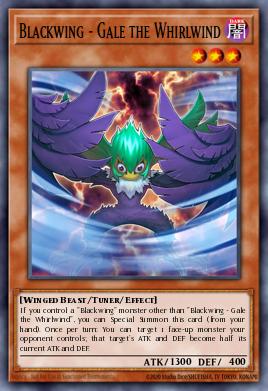
Gale is an extender and tuner that gives decks more Synchro paths. The notable point is that it can reduce opponent monster ATK by half, so after using it helps break down the board while providing necessary Levels to continue the combo. Gale is currently evaluated quite low compared to its actual value because of its good ATK and easy search with Black Whirlwind.
In the combo, Gale is often kept as a necessary piece to go up to final Synchros, especially in lines using Full Armor Master or when needing an additional tuner to complete the matchup.
Blackwing - Bora the Spear (x0)
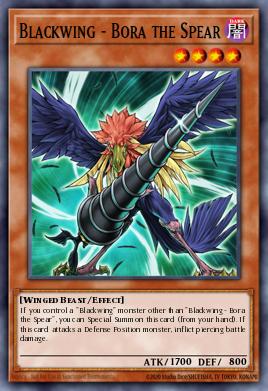
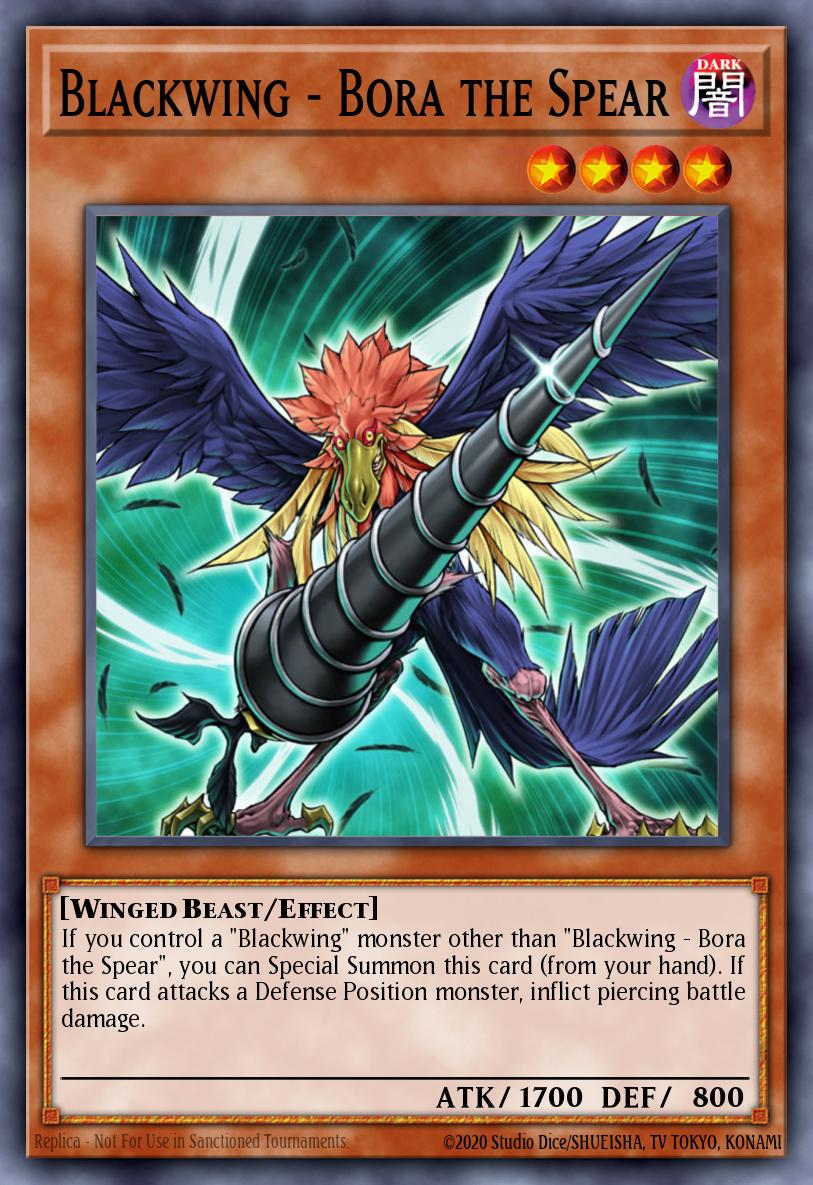
Bora is a very simple but useful extender: you can Special Summon it when Blackwing is on the field. This is one of the cards that can be searched with various options such as Black Whirlwind, Sudri and Skill, so only one copy is needed in many builds.
Bora is not usually an objective that you need to keep multiple copies of; its main role is to provide additional bodies to continue Synchro and support sending Zephyros or other resources down to the Graveyard through related combos.
Blackwing - Oroshi the Squall (X1)


Oroshi is primarily used as a Level 1 tuner to complete the Synchros needed in combos. It is especially important on lines that end with Level 8-10 boss monsters, because just one Level 1 tuner allows you to continue converting the bodies currently on the field into appropriate Synchro Monsters.
Because Oroshi can be searched by Black Whirlwind and is mainly used as a combo piece, you typically don't need many copies of it. Its value lies at the exact moment it goes onto the field to complete a Synchro, rather than its standalone effect.
Blackwing - Sharnga the Waning Moon (x1)
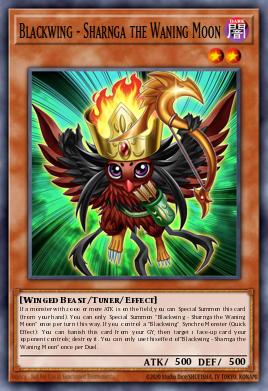
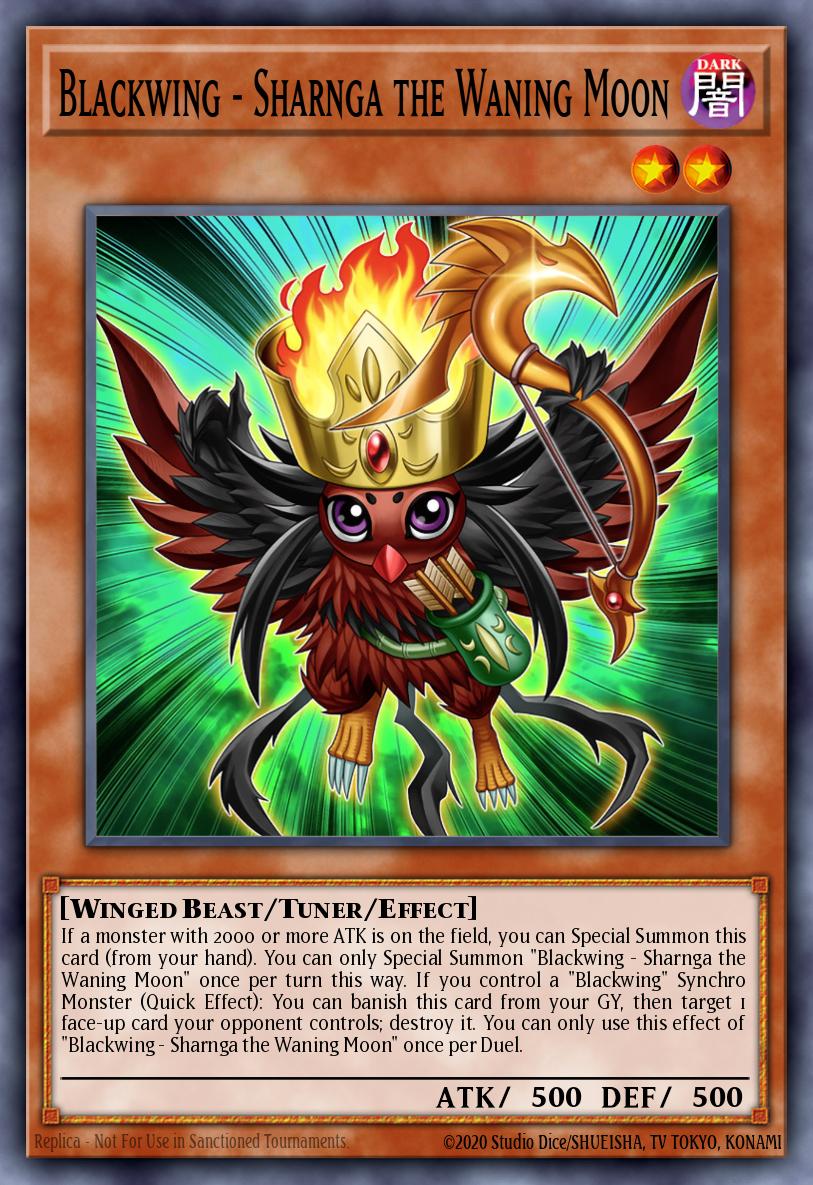
Sharnga is a very useful extender because it can Special Summon from hand when you are controlling a monster with 2000 ATK or more. This makes it very easy to bring onto the field during combos, especially when your deck has Black-Winged Dragon or other boss monsters.effect banish, not a cost, so the opponent may chain reaction effects triggered by the banish to deal with it.
In practice, Sharnga is often used as a combination of disruption backup piece, not necessarily having to keep it on hand until the end of the turn. This is also why combos have lines that actively search for Sharnga, put it into the Graveyard and reuse it through Feather Whirlwind.
Spell/Trap
[Note: The input appears to be empty or contains only whitespace. Per the translation rules, I am outputting exactly what was provided.]
Black Whirlwind (x1)
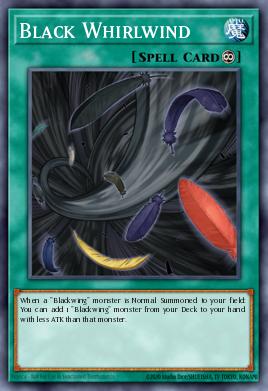
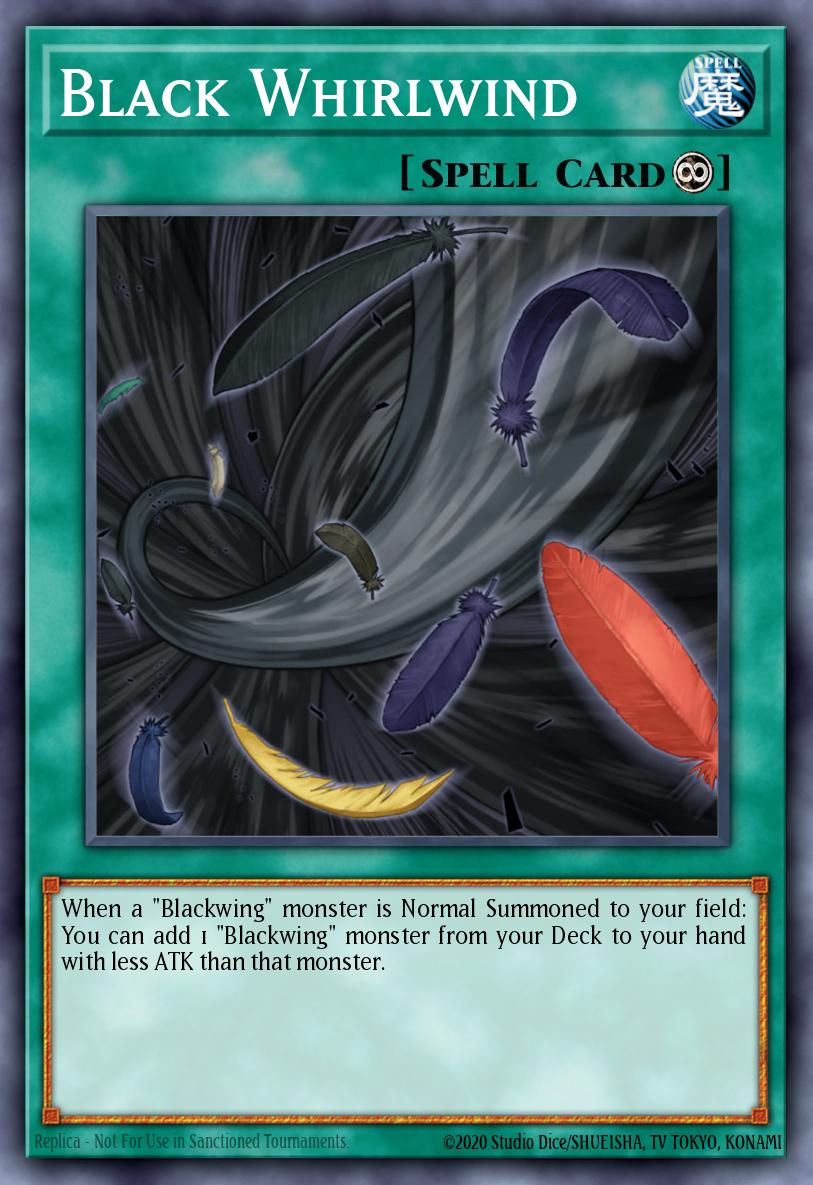
Black Whirlwind is the most important engine search for Blackwings. Every time you Normal Summon a Blackwing, this card can help you find additional suitable Blackwings in your Deck, so the longer the combo and the more Normal Summons you have, the more times you get searches. This is also why lines with Nothung are very strong: an additional Normal Summon can become another search opportunity.
A thing to remember is that Black Whirlwind can search any Blackwing, which is how it lets you draw cards like Black Shadow Squall that Sudri cannot search. When comboing, pay attention to the order of activating Black Whirlwind and Sudri's effect so you don't lose a search; proper Chain ordering can also help you chain Block effects of Blackwing.
Additionally, Black Whirlwind doesn't have to be used only once per turn. Zephyros can push Black Whirlwind to your hand and then you reactivate it, turning a Continuous Spell card into a source of searches for multiple deployments in the same turn or later turns.
Black Feather Whirlwind (x1)
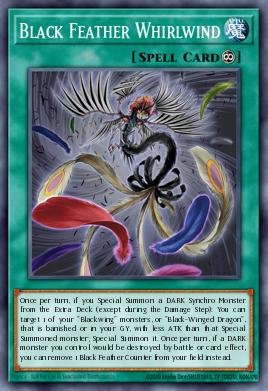
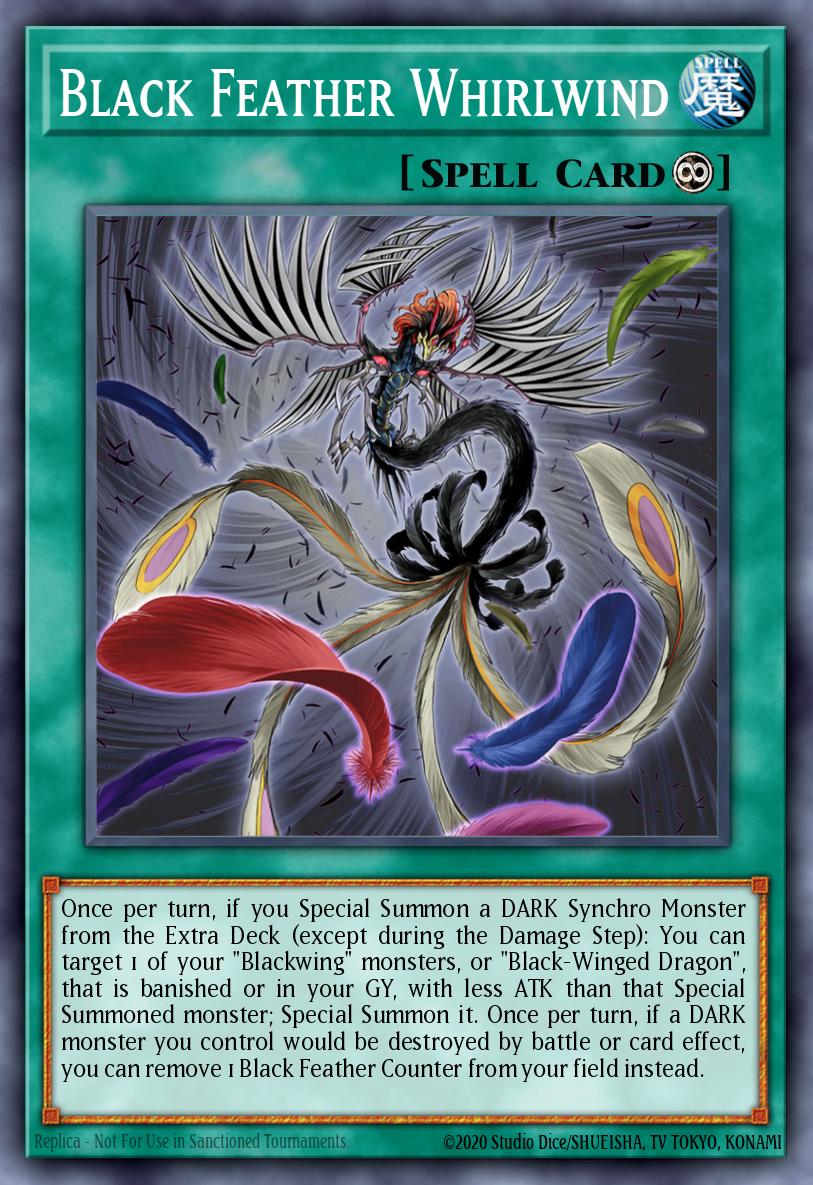
Black Feather Whirlwind is the part that helps the Blackwings combo shift from "search and summon" to actually creating multiple layers of resources. Shamal can self-discard to place this card down, then each time you Synchronize Summon Blackwing, Whirlwind can Special Summon a Blackwing from the Graveyard; so Shamal both sets up a Trap/Spell card, while also preparing resources to continue the combo.
The very notable point is that Whirlwind's revive effect is once per turn, but Zephyros can bounce it back to your hand and reactivate it again, allowing you to take an additional revive. In combos, don't always trigger Shamal immediately; there are lines that intentionally keep Shamal in the Graveyard, perform Synchro first before using Whirlwind and Shamal to create more resources.
In addition to its revive ability, Whirlwind also has defensive value: when a DARK Synchro Monster of yours is about to be destroyed, you can remove a Feather Counter to protect all of your DARK Synchros. This is a very valuable layer of defense when opponents try to wipe the board.
Blackbird Close (Skill)
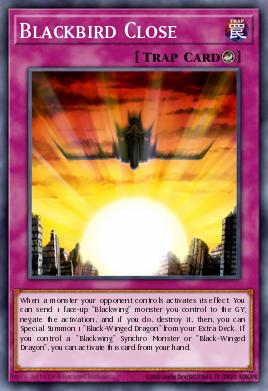
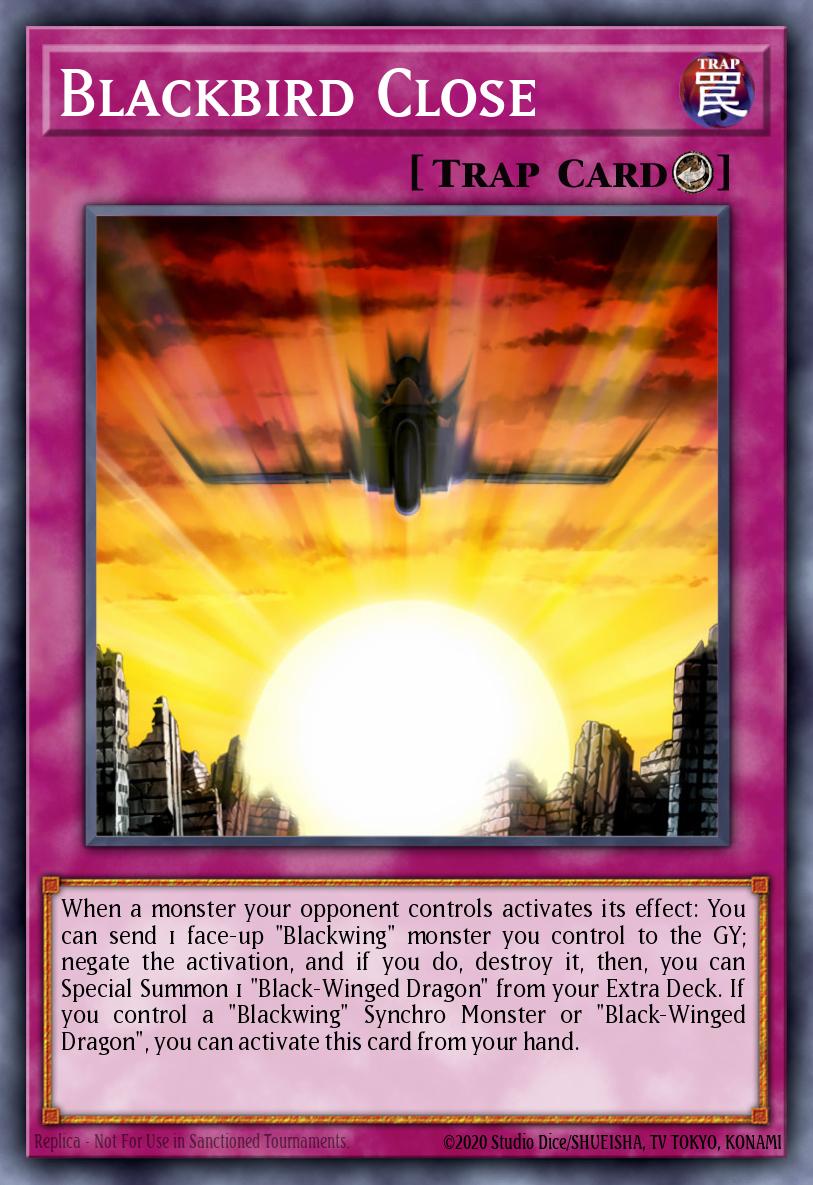
Blackbird Close is the most important monster negation on the end board and is especially valuable because Skill can add it to the hand without having to put this Trap itself into the Deck. It negates a monster's effects by Tributing a Blackwing, so you usually want to keep a Blackwing valuable enough to use as material or as a Tribute when needed.
The important point when playing Close is don't use it too early just because it can negate. If your Deck has another copy of Blackbird Close in addition to the one added by Skill, you can create more layers of monster negation, making you less afraid of being baited
Another point to note is not to mistake Close being able to activate from the hand for it being able to stop all of your opponent's hand traps. An old ruling once allowed a broader interaction, but currently you should not rely on Close to protect yourself from monster effects activated from the hand as you did before.
Blackwing - Twin Shadow (x1)
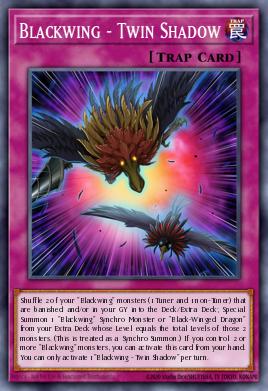
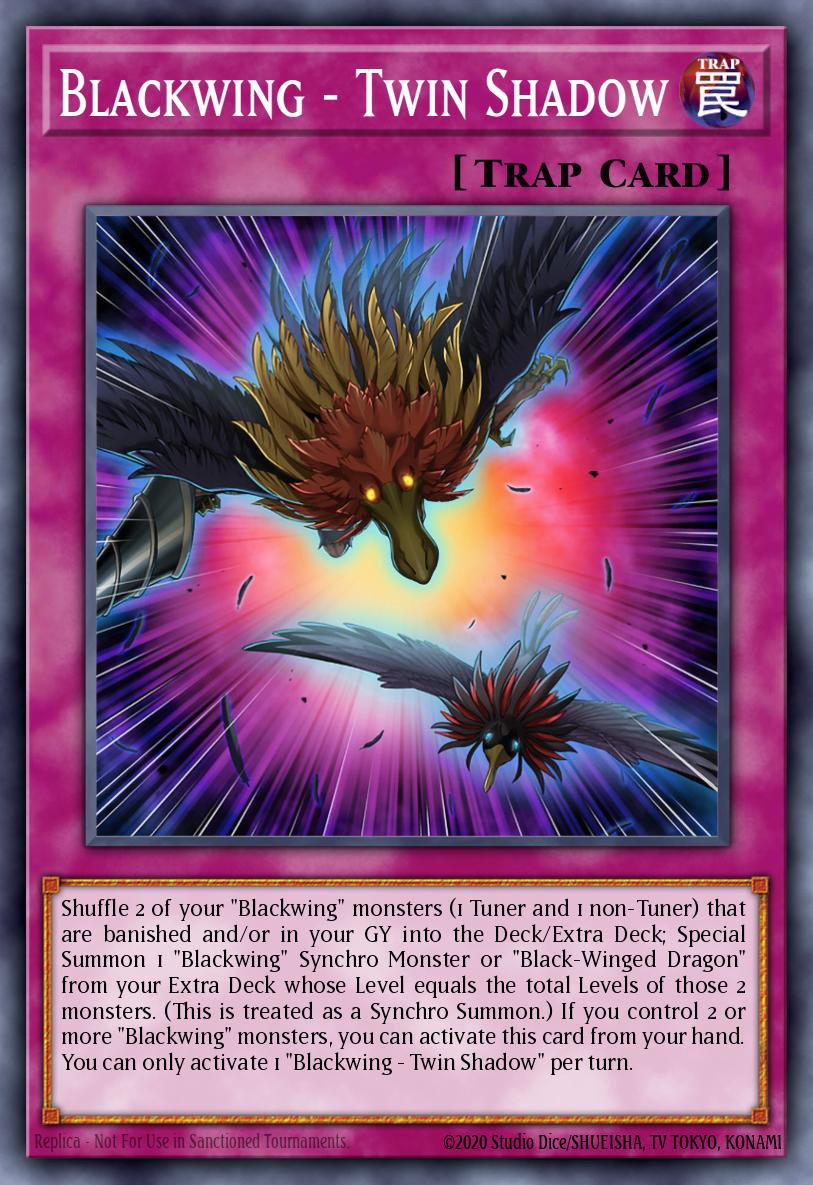
Twin Shadows is a Trap card that leans toward follow-up and board breaking, especially strong when playing defensively. It uses Blackwings from the Graveyard or banished to Synchronize Summon a Synchro Monster, and because the summoned monster is considered already Synchronized, you can fully utilize the effects of those Synchros.
One of the most important targets of Twin Shadows is Blackwing - Silverwind the Ascendant. Silverwind can bring up two face-up monsters of your opponent with lower DEF than its ATK, so Twin Shadows allows you to turn resources already in the Graveyard/banished into a small board wipe right away during your opponent's turn.
Twin Shadows is also particularly flexible because it can be activated from the hand when you control two or more Blackwings. This is why this card is much stronger when playing defensively: you don't need to set a Trap beforehand to create interaction. When playing offensively, it can still be used in some special ways after Blackbird Close and Feather Whirlwind create sufficient conditions, but its greatest value remains the ability to extend combos or wipe the board on your opponent's turn.
Black Shadow Squall (x1-0)

Black Shadow Squall is a Counter Trap that negates a Spell/Trap Card by removing one Black Feather Counter from the field. Since it is a Counter Trap, this is one of the hardest forms of disruption to answer in Blackwings' end board.
The most important point when building a combo is to find the right way to get Squall. Black Whirlwind can search it because Whirlwind can search any Blackwing, while Sudri cannot search Squall because Squall does not mention Black-Winged Dragon. Therefore, in many lines, you use Sudri to get the necessary monster and let Black Whirlwind get Squall.
Squall also has the ability to return to play on its own: during your turn, it can be banished and then Set again from the Graveyard when you control Blackwing Dragon. Therefore, do not view this as merely one negation; if you can maintain the condition, it can become a resource for the following turns.
Hot goods

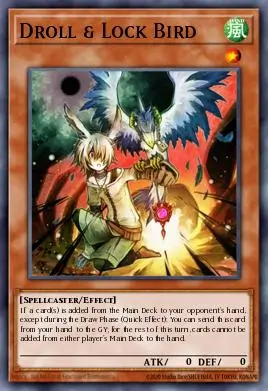
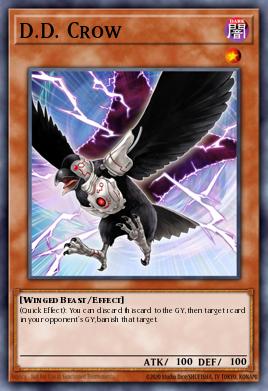

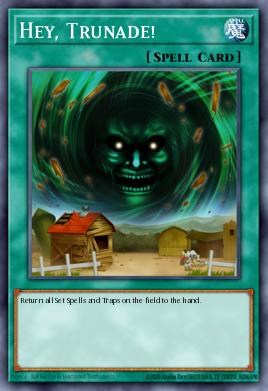
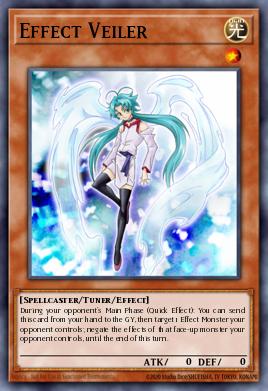
<|start|>
Extra Deck
If looking at roles rather than memorizing each effect, the Blackwings Extra Deck can be quite clearly divided: Nothung and Boreas to expand combos, Black-Winged Dragon to serve as a bridge, Full Armor Master and Assault Dragon to create bosses, Abyss to create omni negate, while Raikiri, Silverwind and Obsidian Hawk Joe serve for board-breaking situations or recovery. This deck typically does not fix on a single combo but changes the Synchro order depending on the hand, opponent's interruption, and remaining resources. This deck typically does not fix on a single combo but changes the Synchro order depending on the hand, opponent's interruption, and remaining resources.
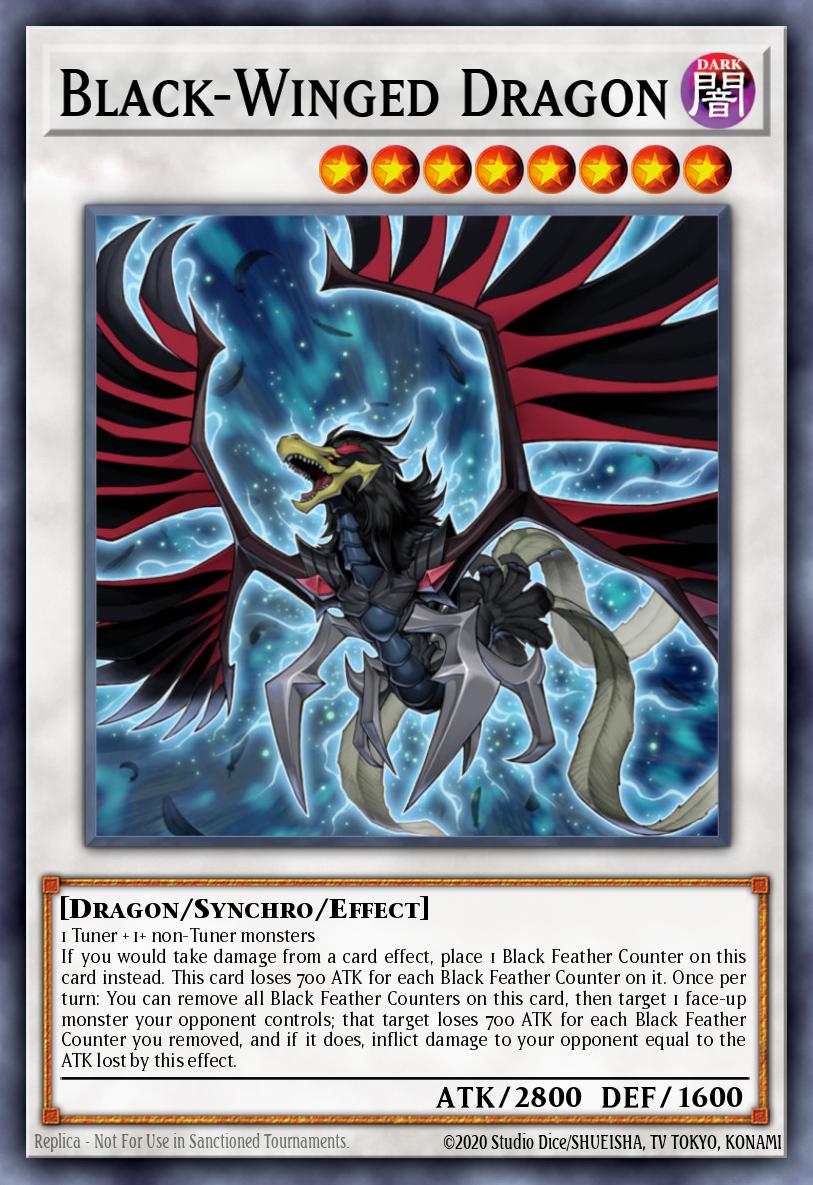
Black-Winged Dragon (x1-2)
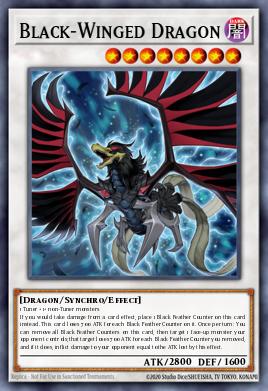
Black-Winged Dragon is a very important combo piece because it serves both as the condition to bring Blackwing Assault Dragon onto the field, and helps activate interactions around Black Feather Counter. Therefore, in many combos you should not rush to banish it from the field if you still need to use Black Shadow Squall or subsequent lines.
One notable point is that Black-Winged Dragon can be created very early through Vata, and then kept aside as a foundation for the rest of the combo. Some lines will deliberately create an additional Black-Winged Dragon second one since decks use them quite quickly, at the same time this also opens up additional ability for Black Shadow Squall.
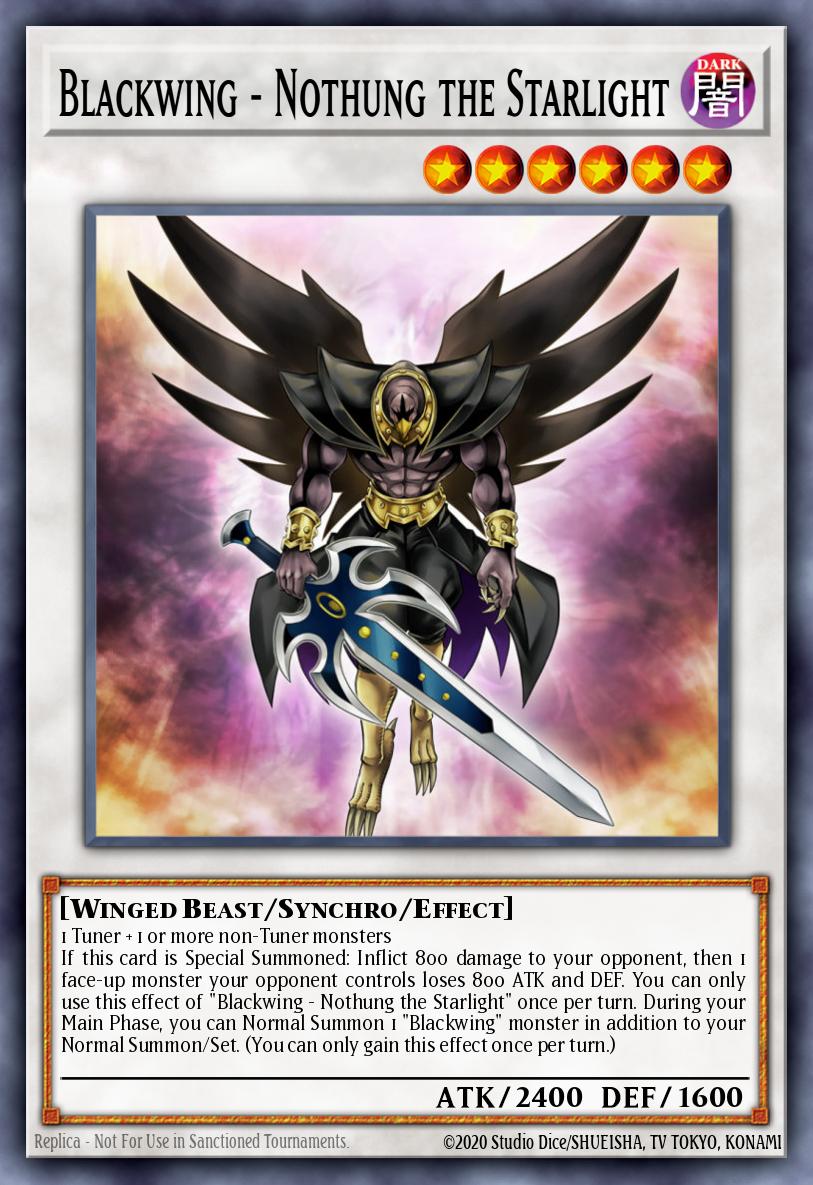
Blackwing - Nothung the Starlight (x1)
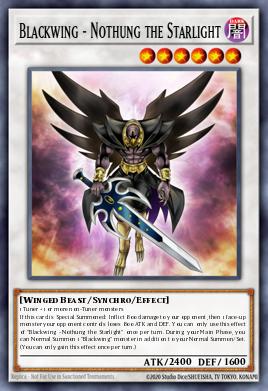
This is why a typical line goes from small monsters up to Nothung first, then uses additional Normal Summon to gain another search turn. In combos with Sudri, this approach allows you to continue searching for missing pieces instead of stopping the combo after just one Normal Summon. Nothung also serves as a very natural bridge to proceed to larger Synchros.
Blackwing - Boreastorm the Wicked Wind (x1)
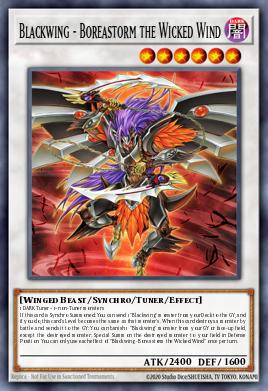
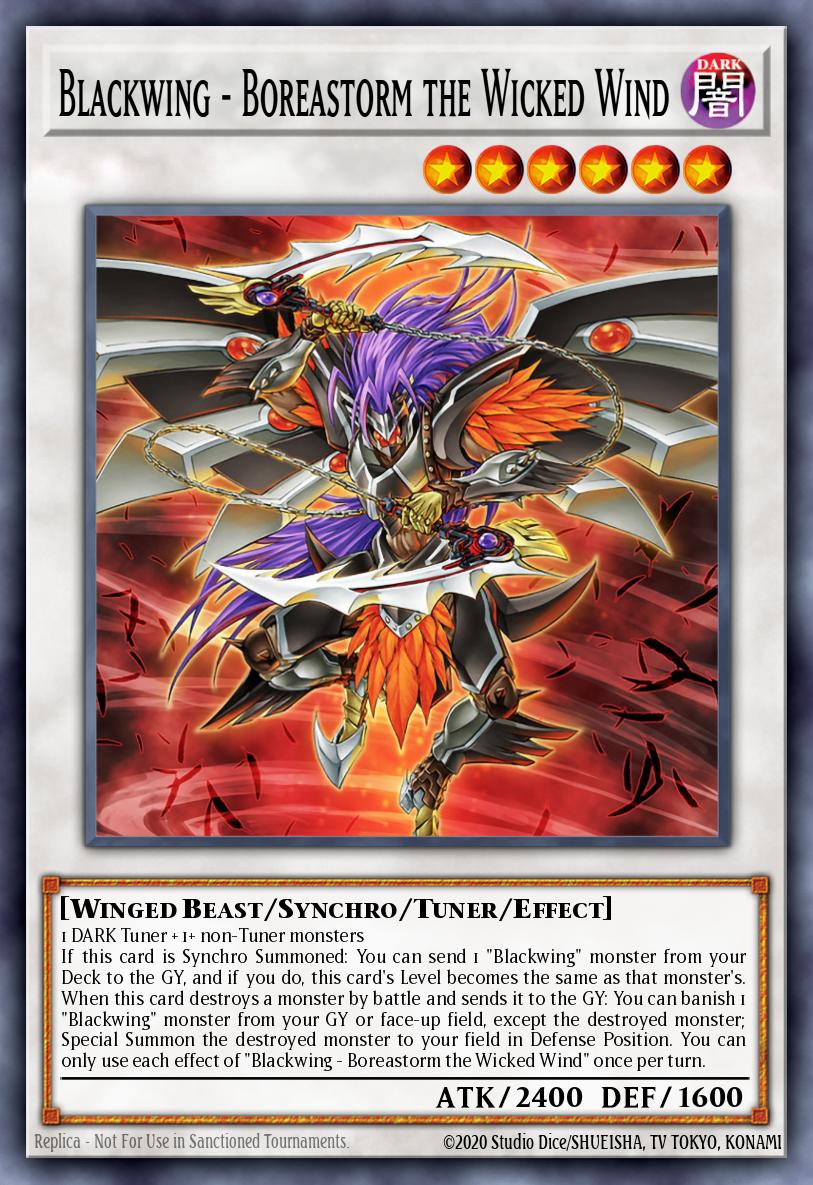
Boreas is a Synchro primarily used for graveyard setup and Level adjustment for combos. When Synchro Summoned, it can send a Blackwing from the Deck to the Graveyard and adjust the Level according to the monster just sent, so you can actively choose the setup material instead of just summoning an intermediate Synchro.
In practice, Boreas often serves as a bridge between Nothung and larger bosses such as Full Armor Master or Assault Dragon. An important option is sending Zephyros to prepare a follow-up, or sending a necessary Level 4 to bring Assault Dragon online faster. Therefore, do not view Boreas as just a "Level 6 Synchro"; see it as a Graveyard setup tool and Level adjuster for the entire combo.
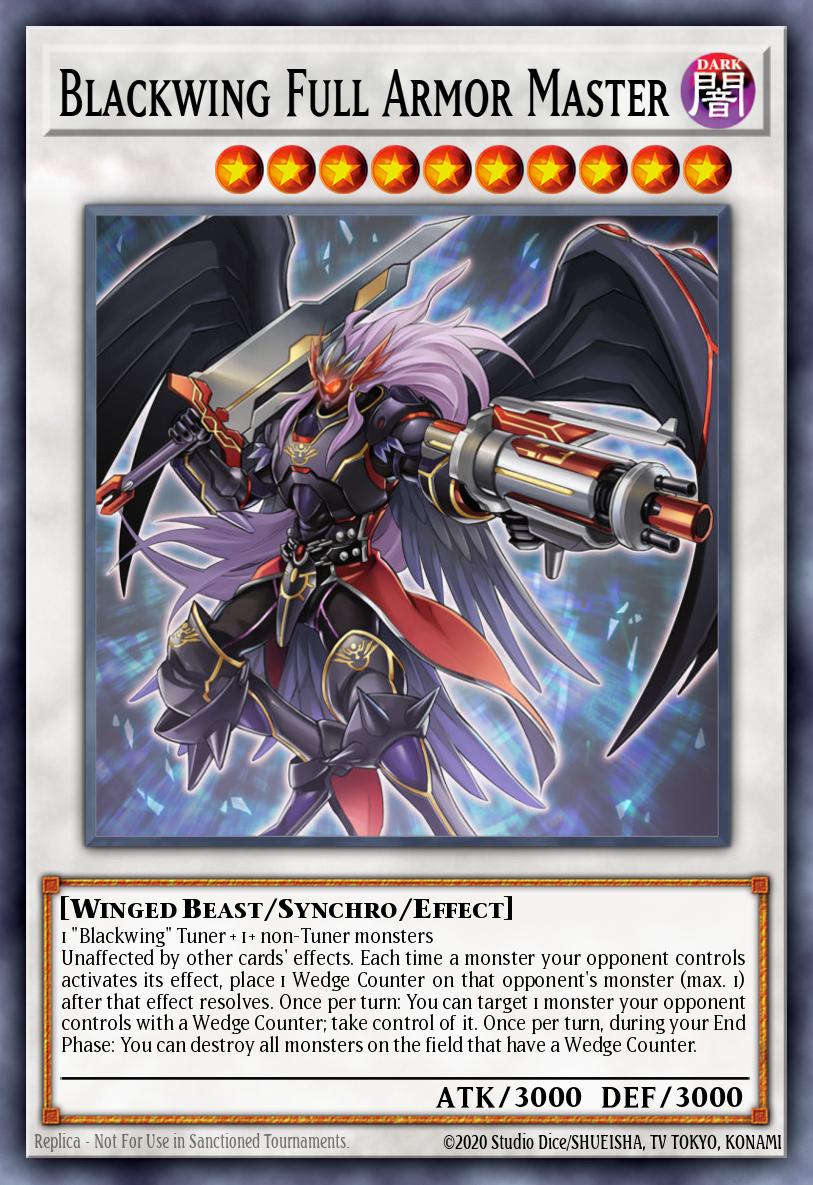
Blackwing Full Armor Master (x1)
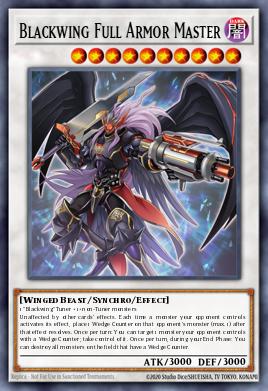
Full Armor Master is a boss that gives Blackwings a very strong foothold on the field. We usually aim to bring it out after setting up enough in the Graveyard, and its Skill also allows you to place Armor Master from the Extra Deck face-down and then Flip Summon it at the appropriate time.
The most valuable point of Armor Master is its interaction with Wedge Counter. When the opponent has a counter, you can use Armor Master to handle or take control of that monster depending on the situation. Therefore, this card is especially useful when going after something or when needing to deal with large ATK/DEF bosses that Blackwings cannot overcome through normal battle.
An important note is that the Skill must be used to obtain Armor Master before creating Hot Red Dragon Archfiend Abyss, because after entering Abyss you may lose the condition to activate the Skill part which requires a Blackwing Synchro on the field.
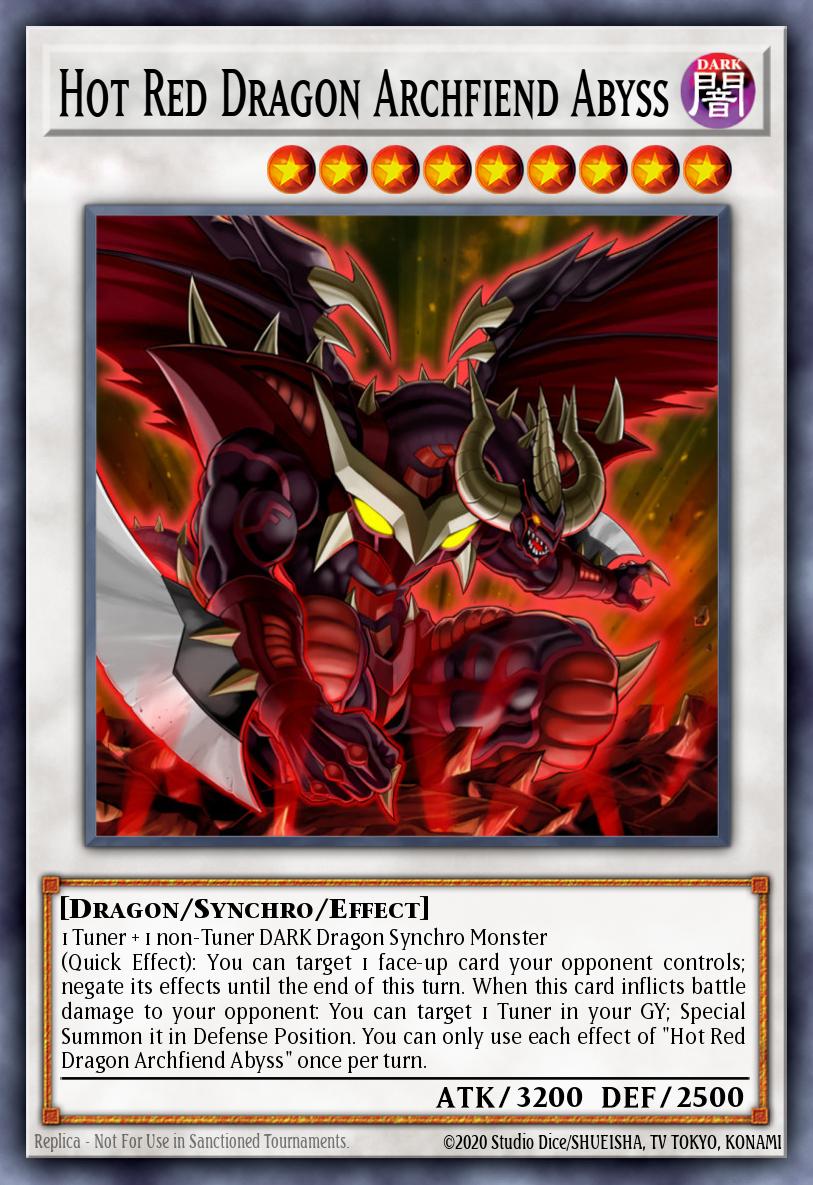
Hot Red Dragon Archfiend Abyss (x1)
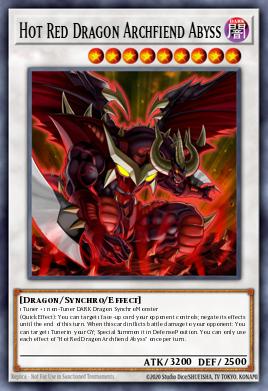
Hot Red Dragon Archfiend Abyss is an omnipotent negate mainstay on the end board. Standard combos typically try to hold back one line to enter Abyss after completing the main setup phase, thereby adding a layer of negation that can handle various types of opponent cards.
Abyss timing is very important. You shouldn't just see Level 8 and immediately Synchronize it; complete the parts of the combo related to Skill and the resources you need first.
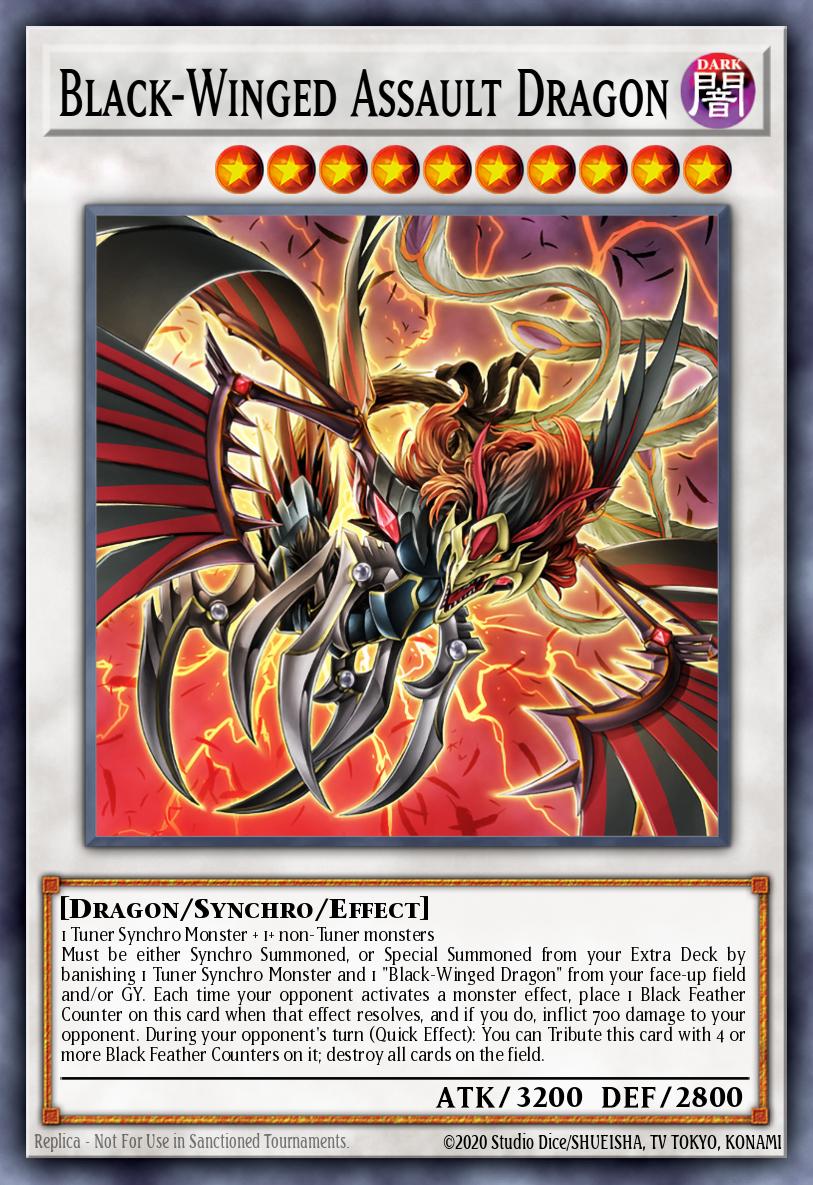
Black-Winged Assault Dragon (x2)
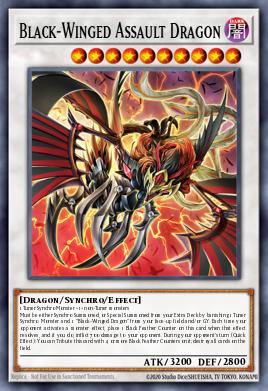
< p class="isSelectedEnd" style="text-align: justify;">Blackwing Assault Dragon is the main boss of the deck and one of the reasons why Blackwings can create an unstoppable end board. It can be normally Synchronized or Special Summoned by banishing appropriate Blackwing resources from the field/Graveyard, so you can usually create one in your combo then use remaining resources to create a second one.
The value of Assault Dragon increases very quickly when the opponent begins using monster effects: each time they activate the effect, the Dragon accumulates Feather Counters and deals damage. When there are enough counters, it can tribute itself to clear the remaining cards on the field. Two Assault Dragons on the field significantly increase the damage output, so an end board with two will put tremendous pressure on the opponent.
However, note that if Assault Dragon is Special Summoned via its own banish method, it is not considered a proper Synchro Summon, so after that it cannot be freely revived. If this resource needs to be recovered, we typically aim for using Feather Whirlwind to revive an Assault Dragon summoned this way.
Blackwing - Silverwind the Ascendant (x1)

Silverwind mainly appears through Blackwing Twin Shadows, especially when you need a game-breaking play on your opponent's turn. When Special Summoned by Twin Shadows and treated as if it had been Synchronized Summoned, Silverwind can use its effect to process up to two face-up monsters of the opponent that match the DEF condition.
So, Silverwind doesn't necessarily have to be summoned in Turn 1 for a combo. Keep Twin Shadows as a tool to reach the opponent's turn so they can banish resources from the Graveyard/banished into a Synchro removal. This is also why Silverwind is particularly valuable when playing defensively or when the opponent has set many monsters on the field.
Assault Blackwing - Raikiri the Rain Shower (x0-1)

Raikiri is a sideboard and board-clearing choice. When you have another Blackwing on the field, it can use its effect to destroy opponent cards, so in situations where you need to clear the backrow or monsters before continuing Synchro, Raikiri can be a very effective intermediate step.
A special point is that Raikiri can be used as a Synchro Tuner in a combo. Therefore, after using it to clear the board, you can still continue stacking larger bosses like Blackwing Assault Dragon instead of ending the combo right there.
Blackwing Tamer - Obsidian Hawk Joe (x0-1)

Obsidian Hawk Joe is primarily a recovery spell, not the first target of the combo. Its role is most clearly demonstrated when the combo is broken or you need to replay after eating Nibiru: Joe can use his effect to return a Synchro Tuner to the field, thereby reopening the Synchro lines that were thought to be lost.
A typical line is after being eaten by Nibiru, you use Zonda to create Level 6, summon Obsidian Hawk Joe, then use Joe's effect to revive the Synchro Tuner. After that, Zephyros and remaining resources can help you continue up to Assault Dragon or Full Armor Master. Therefore, this is a card to remember when your battle phase has been broken but your Graveyard still contains many resources.
Gameplay & Combo
Overview of How to Play
Blackwings is a deck with very strong combo potential, but the most important thing isn't memorizing one combo but knowing which cards to search for first, when to use Skill, and what resources to save. In many cases, if you already have a monster that can use Skill like Shamal, you don't necessarily have to use Skill right away. It's better to deploy Simoon or Sudri first to check if the opponent has Droll or an interruption, then decide whether to use Skill.
Typically, the basic search order revolves around Simoon → Shamal → Level 4 monster → Vata → Sharnga → Black Shadow Squall → Chinook, but this order is not fixed. If there's a card available, skip it and take the missing piece instead. Especially remember that Black Whirlwind can search any Blackwing, while Sudri only searches cards mentioning Black-Winged Dragon, so Black Shadow Squall usually needs to be taken by Black Whirlwind.
When going first, the goal is often to create one or two Blackwing Assault Dragon combinations with Hot Red Dragon Archfiend Abyss, Full Armor Master and various disruption cards like Blackbird Close or Black Shadow Squall. However, don't rush to spend all your resources just to get the largest number of bosses. Save cards like Shamal, Zephyros, Zonda, or Twin Shadow if they can help you rebuild after the opponent breaks the board. Zephyros and Zonda have great value in the follow-up phase.
When going second, Blackwings has many ways to transition from breaking the board to combos. Auster helps place Wedge Counter on opponent's monsters so Full Armor Master can handle them, Gale supports reducing ATK/DEF, and Twin Shadow can be used from the hand when you control enough Blackwings to convert Graveyard or banished resources into Silverwind and create more removal.
Combos
Combo 1 – Simoon + Sudri: Basic combo creating end board
Step 1: Special Summon Blackwing - Simoon the Poison Wind by banishing a Blackwing from your hand and placing Black Whirlwind onto the field.
Step 2: Normal Summon Blackwing - Sudri the Phantom Glimmer. Activate the effect of Black Whirlwind and Sudri to begin searching.
Step 3: Use Sudri to search Blackwing - Vata the Emblem of Wandering.
Step 4: Special Summon Vata and use Vata's effect to send a suitable Blackwing from your Deck to the Graveyard, then Synchro Summon Black-Winged Dragon.
Step 5: Activate the effect of Blackwing - Shamal the Sandstorm from your hand to place Black-Feather Whirlwind.
Step 6: Continue developing Level 2/Level 3 Blackwings and Synchro Summon Blackwing - Nothung the Starlight.
Step 7: Use an additional Normal Summon from Nothung to Normal Summon another Blackwing, taking more search pieces from Black Whirlwind and completing the remaining pieces.
Step 8: Synchro Summon Blackwing - Boreas the Sharp, using Boreas' effect to send another Blackwing from your Deck to the Graveyard and adjust its Level to fit the next line.
Step 9: Before creating Hot Red Dragon Archfiend Abyss, use the Skill part to bring Blackwing Full Armor Master from the Extra Deck to the face-down position and retrieve Blackbird Close.
Step 10: Flip Summon Full Armor Master.
Step 11: Synchro Summon Hot Red Dragon Archfiend Abyss and use remaining resources to bring Blackwing Assault Dragon onto the field.
Note:
Remember: If you already have Shamal or a card that meets the conditions for Skill, you don't necessarily have to use Skill immediately. Deploying Simoon → Sudri first can help check for Droll before deciding to use Skill.
Key Points: If you already have Shamal or a card that meets the conditions for Skill, you don't necessarily have to use Skill right away. Simoon → Sudri first may help check for Droll before deciding to use Skill.
Combo 2 – Shamal + Black Whirlwind: Combination when the engine is already open
Step 1: Activate Black Whirlwind.
Step 2: Normal Summon Blackwing - Shamal the Sandstorm.
Step 3: Activate Black Whirlwind to search the next Blackwing.
Step 4: Activate Skill when needed, reveal a card that meets the condition and take the remaining combo pieces, typically Zephyros + Vata.
Step 5: Send Zephyros to the Graveyard and Special Summon Vata.
Step 6: Use Vata to Synchro Summon Black-Winged Dragon.
Step 7: Activate Zephyros from the Graveyard to bounce Black Whirlwind back to your hand and Special Summon it itself.
Step 8: Reactivate Black Whirlwind if needed, then Synchro Summon Boreas the Sharp and use Boreas' effect to set up more Graveyard.
Step 9: Use the Skill portion related to Blackwing Full Armor Master + Blackbird Close before creating Abyss.
Step 10: Continue climbing to Blackwing Assault Dragon and Hot Red Dragon Archfiend Abyss, and hold onto Blackbird Close/Black Shadow Squall for disruption. This line shows why Black Whirlwind + Shamal can still work even when your hand doesn't have many other starters.
Note:
Remember: If you already have Shamal or a card that meets the conditions for Skill, you don't necessarily have to use Skill immediately. Deploying Simoon → Sudri first can help check for Droll before deciding to use Skill.
Combo 3 – Simoon + Shamal: Leverage Black-Feather Whirlwind and add Normal Summons
Step 1: Use Simoon to place Black Whirlwind.
Step 2: Normal Summon Shamal and let Black Whirlwind search another Blackwing.
Step 3: Use Shamal's effect to place Black-Feather Whirlwind.
Step 4: Use small Blackwings to Synchro Summon Nothung.
Step 5: Activate Shamal's effect from the Graveyard to add a Blackwing back to your hand.
Step 6: Take advantage of additional Normal Summons from Nothung to Normal Summon Sudri again.
Step 7: Activate Shamal's effect and Black Whirlwind to grab the remaining pieces.
Step 8: Bring Vata onto the field and Synchro Summon Black-Winged Dragon.
Step 9: Use Boreas to send another Blackwing to the Graveyard, typically the card you want to use for follow-up or for a subsequent line.
Step 10: From here continue up to Full Armor Master, Assault Dragon, or Abyss depending on remaining resources. This is one of the lines showing how Nothung is not just a mid-boss tool but also creates additional Normal Summons and extra search.
Combo 4 – Sharnga + Sudri: Create Level 6 and utilize resurrection
Step 1: Use Skill to take Simoon and Sharnga if Sharnga is the piece you need.
Step 2: Banish Sharnga to place Black Whirlwind.
Step 3: Normal Summon Simoon and use Black Whirlwind to search Vata.
Step 4: Normal Summon Sudri, then search Shamal using Sudri.
Step 5: Activate Shamal to place Black-Feather Whirlwind.
Step 6: Special Summon Vata and use Vata's effect to set up the Graveyard, such as sending Zephyros.
Step 7: Activate Black-Feather Whirlwind to Special Summon Sharnga from the banished area.
Step 8: Don't rush activating Shamal from the Graveyard. First use Sharnga + Sudri to create Nothung and take advantage of additional Normal Summons.
Step 9: After creating Level 6 and completing necessary search, activate Shamal to return Sudri to your hand.
Step 10: Normal Summon Sudri again thanks to Nothung, thus creating more trigger search.
Step 11: Continue up to Boreas and larger Synchros. This line especially shows how Sharnga can serve both as an extender and as a resource to be sent back to the field by Black-Feather Whirlwind.
Combo 5 – Twin Shadow going second: Silverwind double destruction
Step 1: Deploy Blackwings normally and send one or more Blackwings to the Graveyard/banished.
Step 2: Ensure you control at least two Blackwings so you can activate Blackwing Twin Shadows from your hand.
Step 3: When the opponent commits monsters to the field, activate Twin Shadows.
Step 4: Shuffle a Blackwing Tuner and a non-Tuner Blackwing from the Graveyard/banished back into your Deck.
Step 5: Special Summon Blackwing - Silverwind the Ascendant through Twin Shadows, and it counts as having Synchro Summoned.
Step 6: Activate Silverwind's effect to deal maximum damage to the opponent's two face-up monsters according to their DEF conditions.
Step 7: After clearing the board, continue comboing with remaining Blackwings or use Silverwind as a Synchro material to proceed further to bigger bosses if needed.
Combo 6 – Auster + Full Armor Master: Handle big bosses when going second
Step 1: Send Blackwing - Auster the South Wind to the Graveyard via Skill or other setup effects.
Step 2: When conditions are appropriate, use Auster's effect to place Wedge Counter on opponent's cards/monsters.
Step 3: Place Blackwing Full Armor Master onto the field.
Step 4: Utilize Wedge Counter to turn monsters with counters into targets for Armor Master's processing.
Step 5: If needed, use Full Armor Master's effect to claim control over an opponent's monster with Wedge Counter.
Step 6: After getting the opponent's boss or reducing their defense capability, continue climbing to Synchro and move to Assault Dragon/Abyss to finish the duel. The Auster + Armor Master line shows how to handle opponents with very high ATK.
Combo 7 – Affected by Nibiru: Rebuild with Zonda + Obsidian Hawk Joe
Step 1: After being affected by Nibiru, check your Graveyard and find ways to utilize Zonda the Dusk.
Step 2: Use Zonda's effect to send a Level 6 Blackwing onto the field.
Step 3: Special Summon Blackwing - Obsidian Hawk Joe.
Step 4: Use Obsidian Hawk Joe's effect to revive a Synchro Tuner.
Step 5: Use Zephyros to return to the field after bouncing a Blackwing/Continuous Spell that fits well.
Step 6: Synchro Summon Blackwing Assault Dragon.
Step 7: Use Obsidian Hawk Joe's effect to Special Summon Gale.
Step 8: Use Gale and Full Armor Master or remaining resources to continue rebuilding into Blackwing Full Armor Master.
Step 9: If you have enough resources left, call upon or create another Assault Dragon and restore the disruption layers. This is why Zonda and Zephyros should be set up beforehand: even when Nibiru destroys the end board, the Graveyard can still become a resource source to rebuild the board.
Some Important Principles When Combining
1. Don't use Skill mechanically. If you already have Shamal or another card that meets the conditions, consider deploying Simoon/Sudri first and then using Skill. This is particularly useful to check for Droll or bait an interruption.
2. Before Synchro Summoning Abyss, complete the Skill portion required for Blackwing Synchro. If you create Abyss too early, you might lose the ability to use the Skill to summon Armor Master and retrieve Blackbird Close.
3. Always think ahead of the follow-up step. Cards like Zephyros, Zonda, Shamal and those in the Graveyard aren't just resources for the current combo; they're also what allows Blackwings to continue playing after the opponent breaks the board.
4. Black Whirlwind and Sudri don't search the same way. When you need Black Shadow Squall, remember that Whirlwind is the tool to find it; Sudri cannot fetch Squall.
5. You don't necessarily have to create identical end boards in every match. If the opponent has spent many resources on one monster, prioritize Armor Master or Twin Shadow's interaction; if the opponent has many Spells/Traps, keep Black Shadow Squall; if you already have a trap in hand, you might prioritize Chinook as a monster negate.
duel-links
1473
5
 WIND
WIND 1
1Droll & Lock Bird
ATK:
0
DEF:
0
If a card(s) is added from the Main Deck to your opponent's hand, except during the Draw Phase (Quick Effect): You can send this card from your hand to the GY; for the rest of this turn, cards cannot be added from either player's Main Deck to the hand.


 DARK
8
DARK
8Blackwing - Silverwind the Ascendant
ATK:
2800
DEF:
2000
1 "Blackwing" Tuner + 2 or more non-Tuner monsters When this card is Synchro Summoned: You can target up to 2 face-up monsters on the field with DEF lower than this card's ATK; destroy those targets. You cannot conduct your Battle Phase the turn you activate this effect. During each of your opponent's turns, the first "Blackwing" monster you control that would be destroyed by battle, is not destroyed.
 DARK
4
DARK
4Blackwing - Bora the Spear
ATK:
1700
DEF:
800
If you control a "Blackwing" monster other than "Blackwing - Bora the Spear", you can Special Summon this card (from your hand). If this card attacks a Defense Position monster, inflict piercing battle damage.
 DARK
1
DARK
1D.D. Crow
ATK:
100
DEF:
100
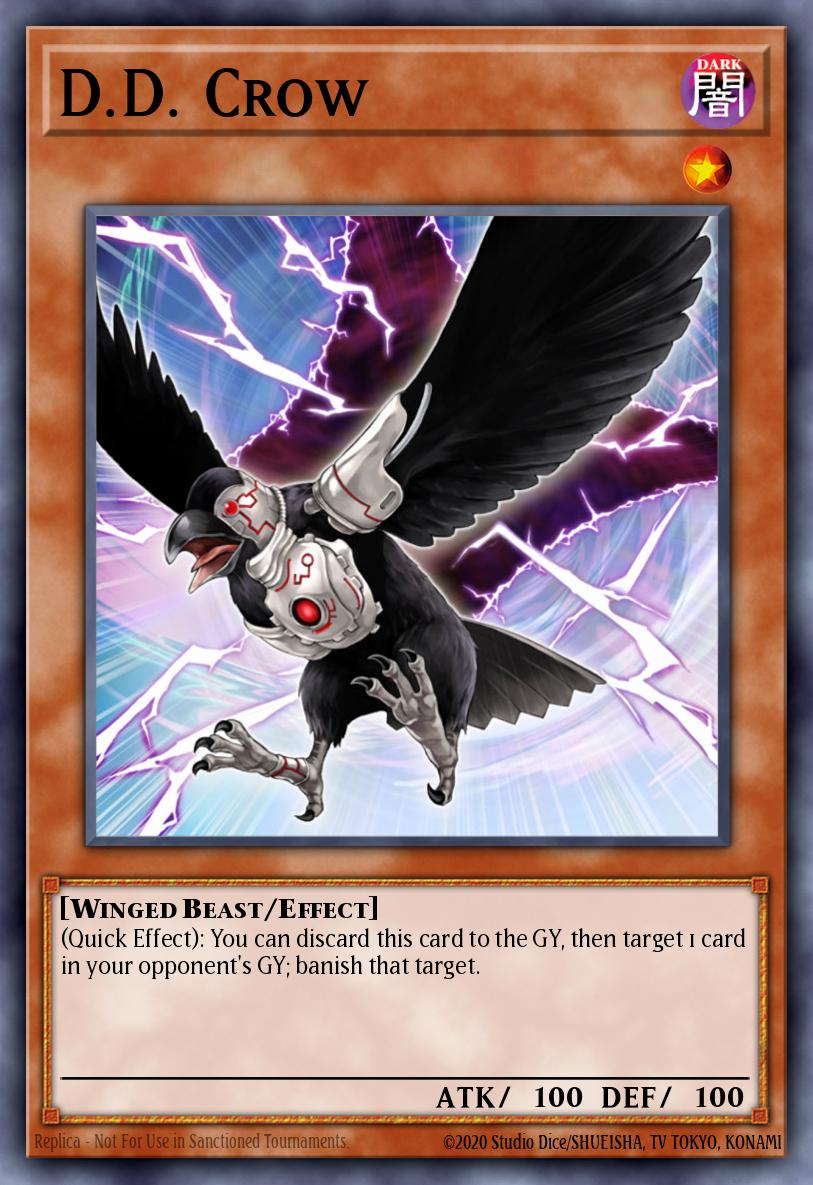
(Quick Effect): You can discard this card to the GY, then target 1 card in your opponent's GY; banish that target.
 DARK
6
DARK
6Blackwing - Simoon the Poison Wind
ATK:
1600
DEF:
2000
If you control no monsters and have this card in your hand: You can banish 1 other "Blackwing" monster from your hand; place 1 "Black Whirlwind" from your Deck face-up in your Spell & Trap Zone, then, either send this card to the GY, or immediately after this effect resolves, Normal Summon it without Tributing. You cannot Special Summon monsters from the Extra Deck for the rest of this turn, except DARK monsters. You can only use this effect of "Blackwing - Simoon the Poison Wind" once per turn. During the End Phase, send the "Black Whirlwind" placed by this effect to the GY, and if you do, take 1000 damage.
 DARK
2
DARK
2Blackwing - Chinook the Snow Blast
ATK:
100
DEF:
700
You can send this card from your hand or field to the GY, then target 1 face-up monster your opponent controls; send 1 "Blackwing" Synchro Monster or 1 "Black-Winged Dragon" from your Extra Deck to the GY, and if you do, until the end of this turn, the targeted monster loses 700 ATK, also negate its effects. This is a Quick Effect if you control a DARK Synchro Monster. You can only use this effect of "Blackwing - Chinook the Snow Blast" once per turn.
 Spell
Spell Normal
Hey, Trunade!
Return all Set Spells and Traps on the field to the hand.
 DARK
9
DARK
9Hot Red Dragon Archfiend Abyss
ATK:
3200
DEF:
2500
1 Tuner + 1 non-Tuner DARK Dragon Synchro Monster (Quick Effect): You can target 1 face-up card your opponent controls; negate its effects until the end of this turn. When this card inflicts battle damage to your opponent: You can target 1 Tuner in your GY; Special Summon it in Defense Position. You can only use each effect of "Hot Red Dragon Archfiend Abyss" once per turn.

 Trap
Trap Counter
Black Shadow Squall
When a Spell/Trap Card is activated: Remove 1 Black Feather Counter from your field; negate the activation, and if you do, destroy that card. If you control "Black-Winged Dragon": You can Set this card from your GY, but banish it when it leaves the field. You can only use 1 "Black Shadow Squall" effect per turn, and only once that turn.
 DARK
4
DARK
4Blackwing - Sudri the Phantom Glimmer
ATK:
1400
DEF:
1400
When this card is Normal Summoned: You can add 1 card that mentions "Black-Winged Dragon" from your Deck to your hand, except "Blackwing - Sudri the Phantom Glimmer". You can Tribute 1 monster; Special Summon 1 "Phantom Glimmer Token" (Winged Beast/Tuner/DARK/Level 2/ATK 700/DEF 700), then you take 700 damage. You cannot Special Summon monsters from the Extra Deck the turn you activate this effect, except Synchro Monsters. You can only use this effect of "Blackwing - Sudri the Phantom Glimmer" once per turn.
 Spell
Spell Continuous
Black Feather Whirlwind
Once per turn, if you Special Summon a DARK Synchro Monster from the Extra Deck (except during the Damage Step): You can target 1 of your "Blackwing" monsters, or "Black-Winged Dragon", that is banished or in your GY, with less ATK than that Special Summoned monster; Special Summon it. Once per turn, if a DARK monster you control would be destroyed by battle or card effect, you can remove 1 Black Feather Counter from your field instead.
 Spell
Continuous
Spell
ContinuousBlack Whirlwind
When a "Blackwing" monster is Normal Summoned to your field: You can add 1 "Blackwing" monster from your Deck to your hand with less ATK than that monster.
 LIGHT
1
LIGHT
1Effect Veiler
ATK:
0
DEF:
0
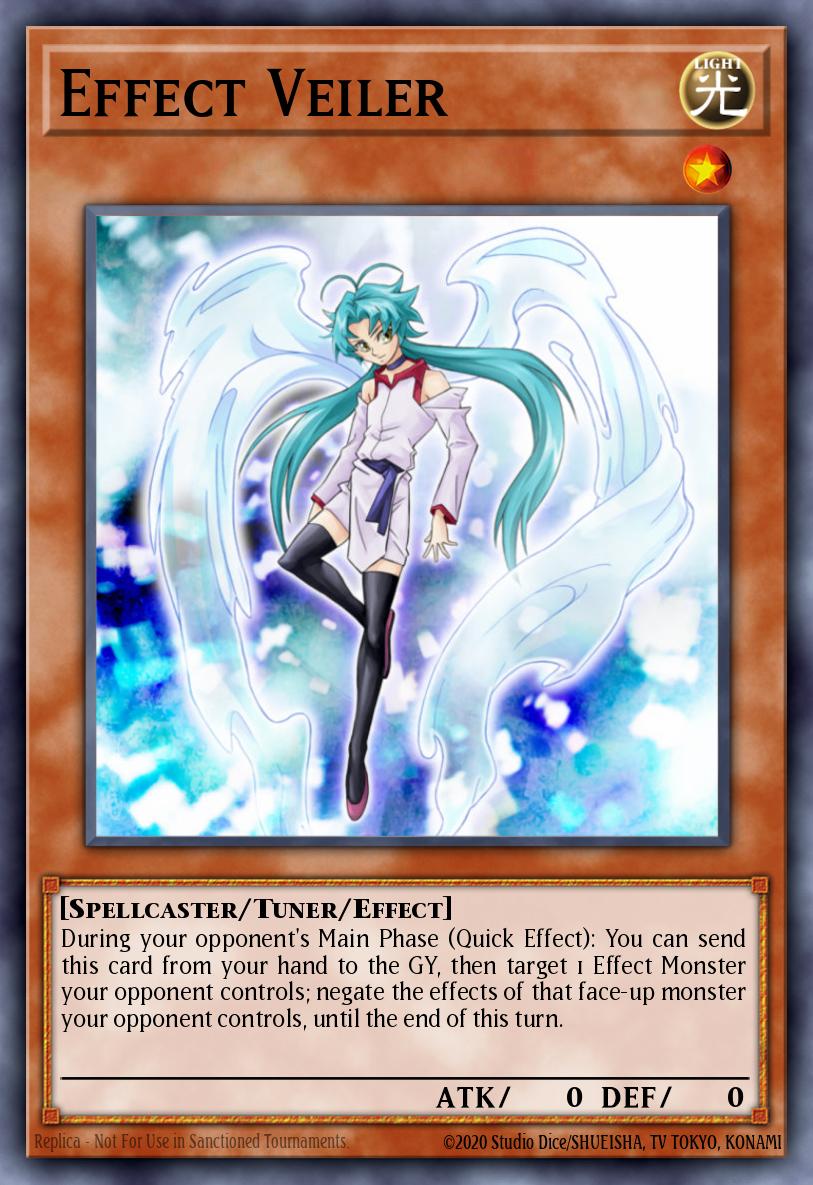
During your opponent's Main Phase (Quick Effect): You can send this card from your hand to the GY, then target 1 Effect Monster your opponent controls; negate the effects of that face-up monster your opponent controls, until the end of this turn.
 DARK
6
DARK
6Blackwing - Boreastorm the Wicked Wind
ATK:
2400
DEF:
1600
1 DARK Tuner + 1+ non-Tuner monsters If this card is Synchro Summoned: You can send 1 "Blackwing" monster from your Deck to the GY, and if you do, this card's Level becomes the same as that monster's. When this card destroys a monster by battle and sends it to the GY: You can banish 1 "Blackwing" monster from your GY or face-up field, except the destroyed monster; Special Summon the destroyed monster to your field in Defense Position. You can only use each effect of "Blackwing - Boreastorm the Wicked Wind" once per turn.
 DARK
4
DARK
4Blackwing - Zephyros the Elite
ATK:
1600
DEF:
1000
If this card is in your GY: You can return 1 face-up card you control to the hand; Special Summon this card, and if you do, take 400 damage. You can only use this effect of "Blackwing - Zephyros the Elite" once per Duel.
 DARK
7
DARK
7Blackwing Tamer - Obsidian Hawk Joe
ATK:
2600
DEF:
2000
1 "Blackwing" Tuner + 1 or more non-Tuner "Blackwing" monsters You can target 1 Level 5 or higher Winged Beast-Type monster in your Graveyard; Special Summon it. During either player's turn, when your opponent activates a card or effect that targets only this card, or when your opponent targets this card for an attack: You can target 1 other "Blackwing" monster you control that would be an appropriate target; that card/effect/attack now targets the new target. You can only use each effect of "Blackwing Tamer - Obsidian Hawk Joe" once per turn.
 DARK
10
DARK
10Blackwing Full Armor Master
ATK:
3000
DEF:
3000
1 "Blackwing" Tuner + 1+ non-Tuner monsters Unaffected by other cards' effects. Each time a monster your opponent controls activates its effect, place 1 Wedge Counter on that opponent's monster (max. 1) after that effect resolves. Once per turn: You can target 1 monster your opponent controls with a Wedge Counter; take control of it. Once per turn, during your End Phase: You can destroy all monsters on the field that have a Wedge Counter.
 DARK
10
DARK
10Black-Winged Assault Dragon
ATK:
3200
DEF:
2800
1 Tuner Synchro Monster + 1+ non-Tuner monsters Must be either Synchro Summoned, or Special Summoned from your Extra Deck by banishing 1 Tuner Synchro Monster and 1 "Black-Winged Dragon" from your face-up field and/or GY. Each time your opponent activates a monster effect, place 1 Black Feather Counter on this card when that effect resolves, and if you do, inflict 700 damage to your opponent. During your opponent's turn (Quick Effect): You can Tribute this card with 4 or more Black Feather Counters on it; destroy all cards on the field.
 DARK
8
DARK
8Black-Winged Dragon
ATK:
2800
DEF:
1600
1 Tuner + 1+ non-Tuner monsters If you would take damage from a card effect, place 1 Black Feather Counter on this card instead. This card loses 700 ATK for each Black Feather Counter on it. Once per turn: You can remove all Black Feather Counters on this card, then target 1 face-up monster your opponent controls; that target loses 700 ATK for each Black Feather Counter you removed, and if it does, inflict damage to your opponent equal to the ATK lost by this effect.
Wings to the Heavens (Skill Card)
ATK:
0
DEF:
0
You can only use this Skill's second and third effects once per Duel. 1: At the beginning of the Duel, add 1 "Black-Winged Dragon" and 1 "Blackwing Armor Master" to your Extra Deck. During this Duel, you cannot Normal or Special Summon Effect Monsters, except "Blackwing" monsters and Level 10 or lower DARK Dragon or Winged Beast Synchro Monsters. 2: Reveal 1 monster in your hand that mentions "Black-Winged Dragon". Add 2 "Blackwing" monsters from your Deck to your hand, then send 1 card from your hand to the Graveyard. 3: If you control a "Blackwing" Synchro Monster, or if your opponent controls a monster. Play 1 "Blackwing Armor Master" from your Extra Deck or Graveyard in face-down Defense Position. (Its battle position can be changed.) Then, add 1 "Blackbird Close" from outside your Deck to your hand.
 DARK
6
DARK
6Blackwing - Nothung the Starlight
ATK:
2400
DEF:
1600
1 Tuner + 1 or more non-Tuner monsters If this card is Special Summoned: Inflict 800 damage to your opponent, then 1 face-up monster your opponent controls loses 800 ATK and DEF. You can only use this effect of "Blackwing - Nothung the Starlight" once per turn. During your Main Phase, you can Normal Summon 1 "Blackwing" monster in addition to your Normal Summon/Set. (You can only gain this effect once per turn.)
 DARK
4
DARK
4Blackwing - Shamal the Sandstorm
ATK:
1600
DEF:
0
You can send this card from your hand or field to the GY; place 1 "Black Feather Whirlwind" from your Deck face-up in your Spell & Trap Zone. If a "Blackwing" Synchro Monster(s) or "Black-Winged Dragon" is Special Summoned to your field, while this card is in your GY (except during the Damage Step): You can banish this card, then target 1 "Blackwing" monster in your GY; add it to your hand, then take 700 damage. You can only use each effect of "Blackwing - Shamal the Sandstorm" once per turn.
 DARK
3
DARK
3Blackwing - Gale the Whirlwind
ATK:
1300
DEF:
400
If you control a "Blackwing" monster other than "Blackwing - Gale the Whirlwind", you can Special Summon this card (from your hand). Once per turn: You can target 1 face-up monster your opponent controls; that target's ATK and DEF become half its current ATK and DEF.
 DARK
2
DARK
2Blackwing - Vata the Emblem of Wandering
ATK:
800
DEF:
0
If you control a "Blackwing" monster other than "Blackwing - Vata the Emblem of Wandering", you can Special Summon this card (from your hand). You can only Special Summon "Blackwing - Vata the Emblem of Wandering" once per turn this way. During your Main Phase: You can send this card on the field to the GY along with 1 or more non-Tuner "Blackwing" monsters from your Deck, so that the total Levels sent equal exactly 8, and if you do, Special Summon 1 "Black-Winged Dragon" from your Extra Deck, also you cannot Special Summon monsters from the Extra Deck for the rest of this turn, except DARK monsters. You can only use this effect of "Blackwing - Vata the Emblem of Wandering" once per turn.
 DARK
1
DARK
1Blackwing - Oroshi the Squall
ATK:
400
DEF:
600
If you control a "Blackwing" monster other than "Blackwing - Oroshi the Squall", you can Special Summon this card (from your hand). You can only Special Summon "Blackwing - Oroshi the Squall" once per turn this way. If this card is sent to the GY as a Synchro Material: You can target 1 monster on the field; change that target's battle position.
 Trap
Counter
Trap
CounterBlackbird Close
When a monster your opponent controls activates its effect: You can send 1 face-up "Blackwing" monster you control to the GY; negate the activation, and if you do, destroy it, then, you can Special Summon 1 "Black-Winged Dragon" from your Extra Deck. If you control a "Blackwing" Synchro Monster or "Black-Winged Dragon", you can activate this card from your hand.
 DARK
4
DARK
4Blackwing - Auster the South Wind
ATK:
1300
DEF:
0
Cannot be Special Summoned. When this card is Normal Summoned: You can target 1 of your banished Level 4 or lower "Blackwing" monsters; Special Summon it in Defense Position. You can banish this card from the GY to activate 1 of the following effects; ● Place Black Feather Counter(s) on 1 "Black-Winged Dragon" you control, equal to the number of card(s) your opponent controls. ● Place 1 Wedge Counter on each face-up monster your opponent controls that does not have one.
 DARK
2
DARK
2Blackwing - Sharnga the Waning Moon
ATK:
500
DEF:
500
If a monster with 2000 or more ATK is on the field, you can Special Summon this card (from your hand). You can only Special Summon "Blackwing - Sharnga the Waning Moon" once per turn this way. If you control a "Blackwing" Synchro Monster (Quick Effect): You can banish this card from your GY, then target 1 face-up card your opponent controls; destroy it. You can only use this effect of "Blackwing - Sharnga the Waning Moon" once per Duel.
 DARK
7
DARK
7Assault Blackwing - Raikiri the Rain Shower
ATK:
2600
DEF:
2000
1 Tuner + 1 or more non-Tuner monsters If this card is Synchro Summoned using a "Blackwing" monster as Material, it is treated as a Tuner monster while face-up on the field. Once per turn: You can target cards your opponent controls, up to the number of other "Blackwing" monsters you control; destroy them.
 Trap
Normal
Trap
NormalBlackwing - Twin Shadow
Shuffle 2 of your "Blackwing" monsters (1 Tuner and 1 non-Tuner) that are banished and/or in your GY into the Deck/Extra Deck; Special Summon 1 "Blackwing" Synchro Monster or "Black-Winged Dragon" from your Extra Deck whose Level equals the total Levels of those 2 monsters. (This is treated as a Synchro Summon.) If you control 2 or more "Blackwing" monsters, you can activate this card from your hand. You can only activate 1 "Blackwing - Twin Shadow" per turn.
Menu
https://ygovietnam.com/